

Table of Contents

Overview
If you want complete control over your WordPress website, hosting it on your own server is an excellent option. While managed hosting is convenient, running WordPress yourself lets you customize every part of the stack, optimize performance, and strengthen security to match your needs.
A proven setup is Apache, PHP-FPM, MySQL, and Let’s Encrypt on Ubuntu 26.04. This combination has been trusted in production environments for years, offering excellent stability, compatibility, and long-term support. Apache provides a powerful and flexible web server, PHP-FPM improves PHP performance, MySQL stores your website’s data, and Let’s Encrypt secures your site with free SSL/TLS certificates.
In this guide, you’ll start with a fresh Ubuntu 26.04 server and build a production-ready WordPress environment from the ground up. By the end, you’ll have a fully functional WordPress installation running over HTTPS with a configuration that’s suitable for personal websites, business sites, and production deployments.
Throughout this tutorial, example.com is used as a placeholder domain. Simply replace it with your own domain name wherever it appears.
Before You Start
Before getting started, make sure you have the following:
- A fresh Ubuntu 26.04 server with root or sudo privileges
- A registered domain name pointed to your server’s public IP address
- Basic familiarity with the Linux command line
Software Stack
Throughout this guide, you’ll build a production-ready WordPress environment using:
- Apache as the web server
- PHP-FPM to execute WordPress’s PHP code, providing better performance and resource efficiency than the traditional mod_php module
- MySQL as the database server for storing WordPress data
- Let’s Encrypt to issue a free SSL/TLS certificate with automatic renewal, enabling secure HTTPS connections
Step 1: Update the Server
Before installing any software, update your server to ensure you’re working with the latest security patches and package versions.
sudo apt update
sudo apt upgrade -y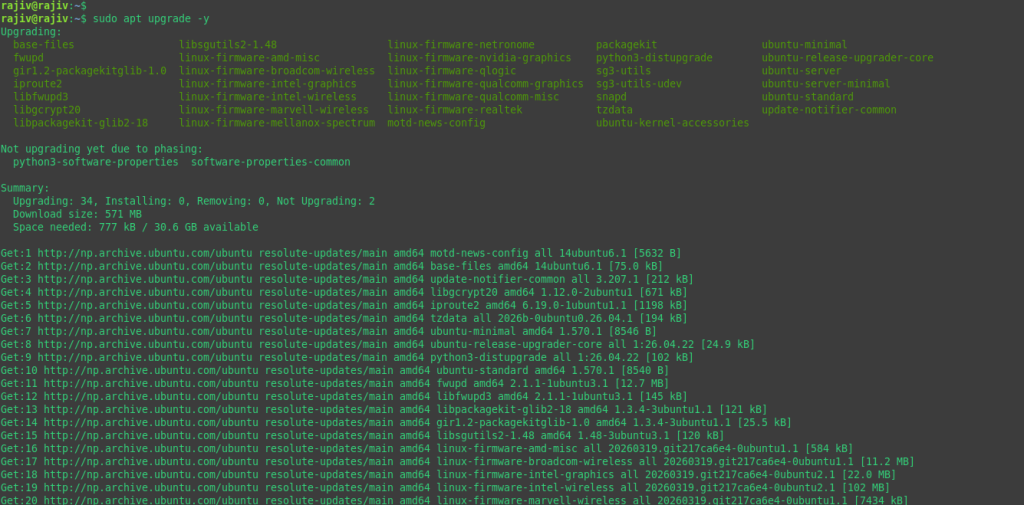
sudo reboot
Rebooting the server ensures that any kernel or system-level updates are applied before you continue with the installation.
Step 2: Install and Enable Apache
Apache is the web server that will handle incoming HTTP and HTTPS requests for your WordPress site.
Install Apache and configure it to start automatically whenever the server boots:
sudo apt install apache2 -y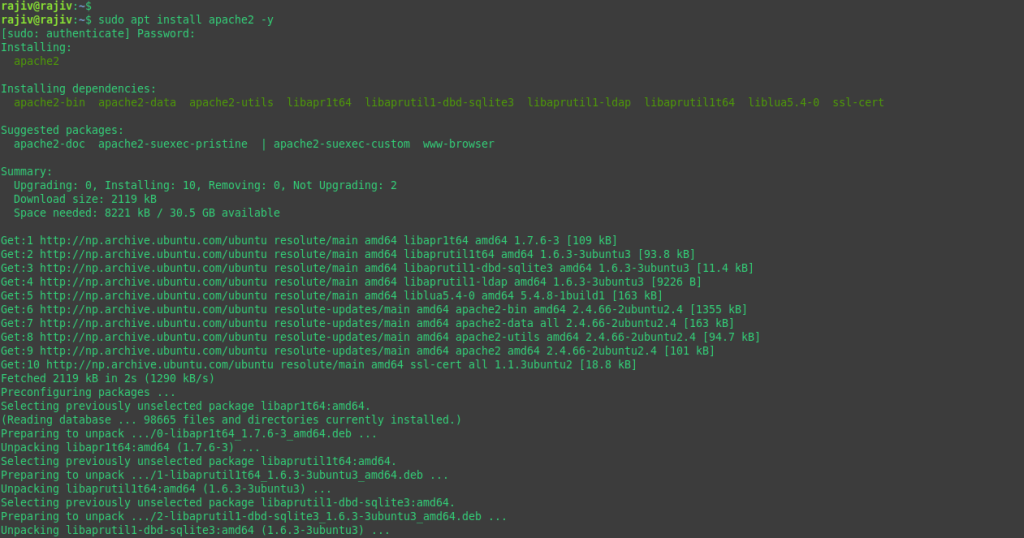
sudo systemctl enable --now apache2
Verify that the service is running:
systemctl status apache2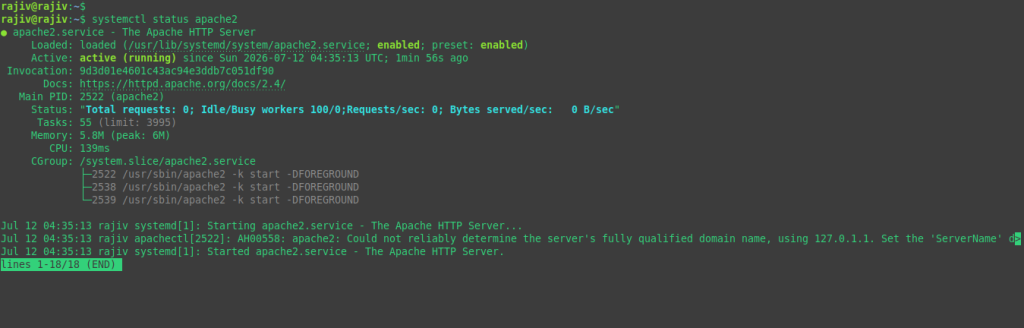
If everything is working correctly, the status should show active (running).
Next, allow web traffic through Ubuntu’s firewall:
sudo ufw allow "Apache Full"
The Apache Full firewall profile opens both HTTP (port 80) and HTTPS (port 443), allowing visitors to access your website over either protocol.
Step 3: Install and Secure MySQL
WordPress stores all of its content, users, settings, and site configuration in a database. In this guide, we’ll use MySQL as the database server.
Install MySQL and configure it to start automatically whenever the system boots:
sudo apt install mysql-server -y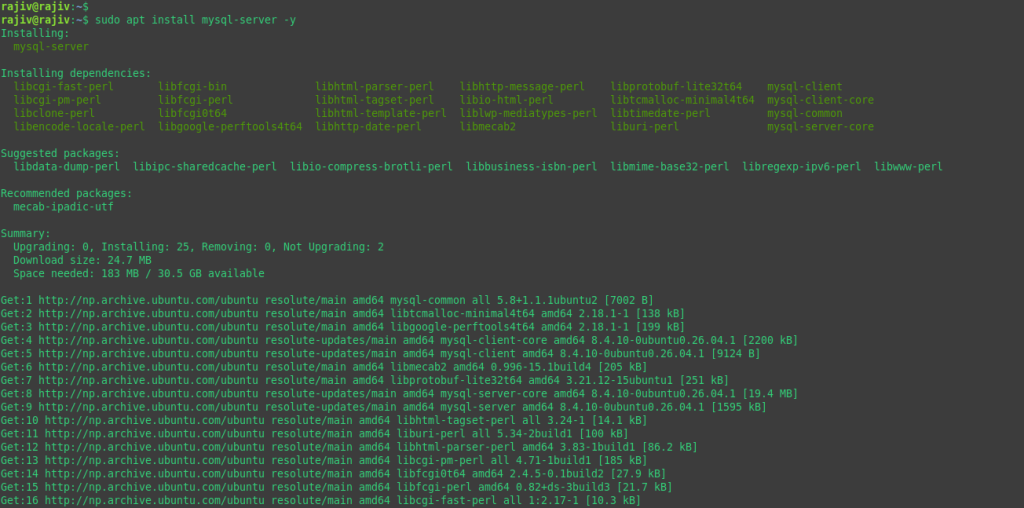
sudo systemctl enable --now mysql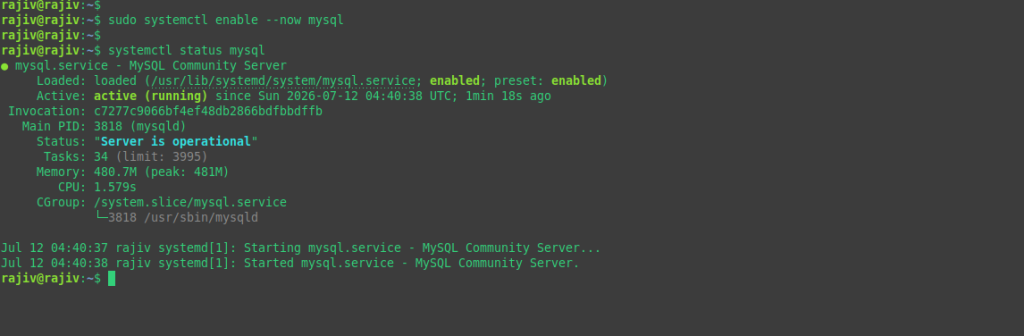
After installation, run MySQL’s built-in security script to remove common security risks and harden the installation:
sudo mysql_secure_installation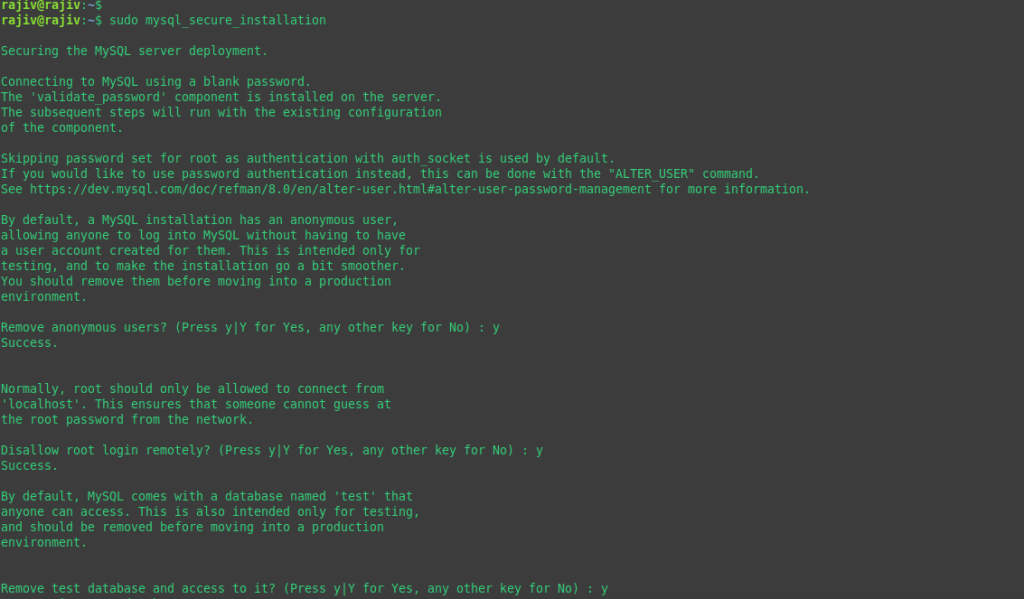
For most production deployments, the following choices are recommended:
| Prompt | Recommended Answer |
| Validate Password Component | Optional, but recommended |
| Password Policy | Medium |
| Remove anonymous users | Yes |
| Disallow remote root login | Yes |
| Remove test database and access to it | Yes |
| Reload privilege tables now | Yes |
These settings help eliminate unnecessary accounts, disable insecure defaults, and improve the overall security of your MySQL installation.
Step 4: Create the WordPress Database
Rather than using the MySQL root account, create a dedicated database and user for WordPress. This follows the principle of least privilege, limiting access to only the resources WordPress requires.
Log in to the MySQL shell:
sudo mysqlCreate the database and user:
CREATE DATABASE wordpress CHARACTER SET utf8mb4 COLLATE utf8mb4_unicode_ci;
CREATE USER 'wpuser'@'localhost' IDENTIFIED BY 'StrongPassword123!';
GRANT ALL PRIVILEGES ON wordpress.* TO 'wpuser'@'localhost';
FLUSH PRIVILEGES;
EXIT;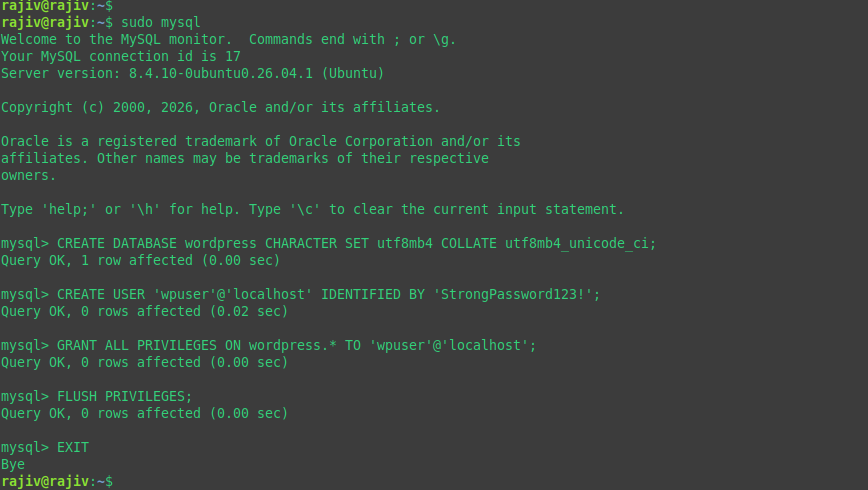
Replace StrongPassword123! with a strong, unique password. You’ll need these database credentials later when running the WordPress installation wizard, so keep them somewhere safe.
Step 5: Install PHP-FPM and Required Extensions
WordPress is built with PHP, so you’ll need PHP-FPM along with several extensions that provide database connectivity, image processing, XML support, internationalization, and other core functionality.
Install PHP-FPM and the required PHP extensions:
sudo apt install php-fpm php-mysql php-cli php-curl php-gd php-mbstring php-xml php-xmlrpc php-soap php-intl php-zip php-imagick libapache2-mod-fcgid unzip -y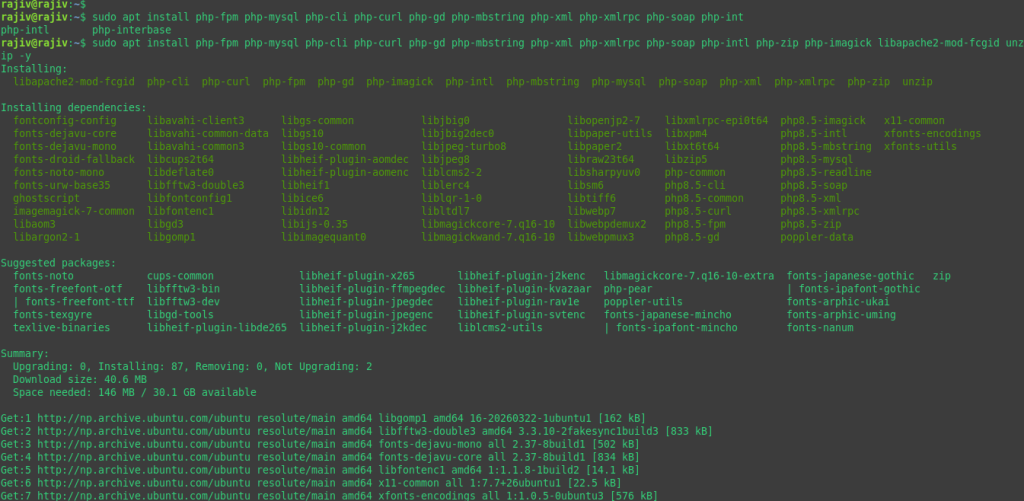
After the installation completes, verify the installed PHP version:
php -v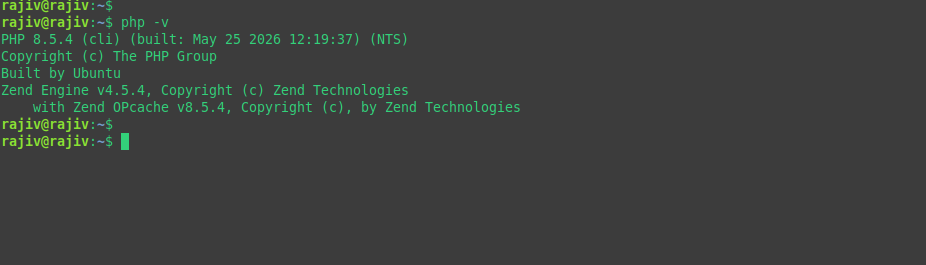
ls /run/php/
The output will include the installed PHP version and one or more PHP-FPM socket files, for example:
php8.4-fpm.sock
Make a note of the PHP version (such as 8.4), as you’ll use it in the next step when configuring Apache.
Step 6: Enable the Required Apache Modules
Apache requires several modules to communicate with PHP-FPM, support HTTPS, and enable features such as URL rewriting and HTTP/2.
Enable the required modules:
sudo a2enmod proxy_fcgi setenvif rewrite headers expires ssl http2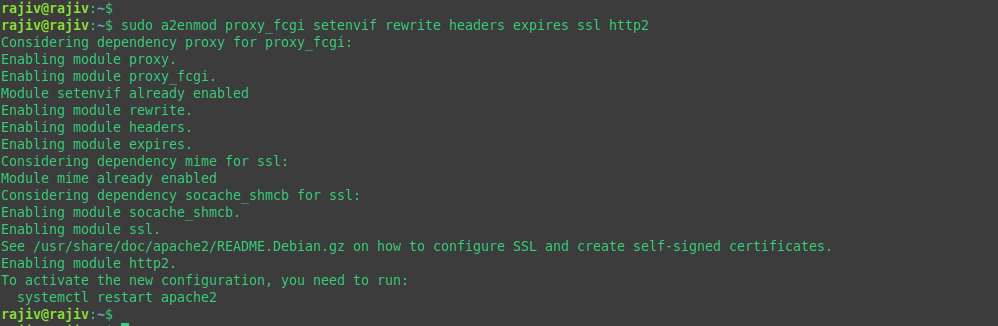
Next, enable the PHP-FPM configuration that matches the version installed on your server. For example, if you’re using PHP 8.4:
sudo a2enconf php8.4-fpm
sudo systemctl restart apache2
Note: If your server installed a different PHP version (for example, PHP 8.5), replace php8.4-fpm with the appropriate version.
Step 7: Download WordPress
Download the latest stable release of WordPress directly from the official website, extract it, and move it into your web root.
cd /tmp
sudo wget https://wordpress.org/latest.zip
sudo unzip latest.zip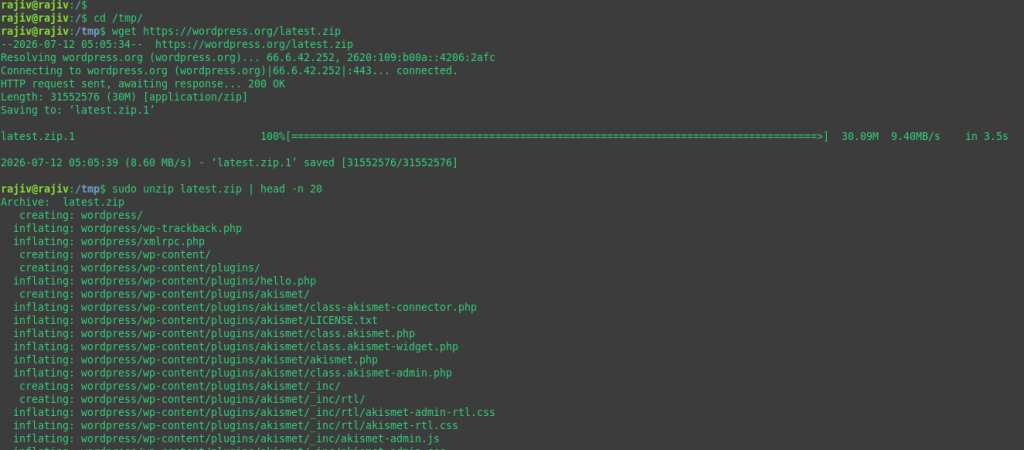
Moving the wordpress files to the domain’s directory:
sudo mv wordpress /var/www/example.com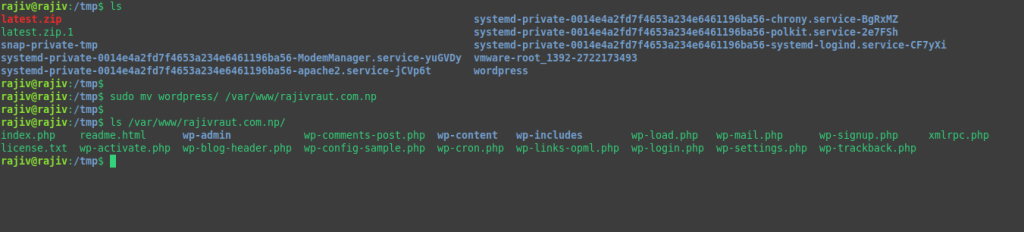
Using the latest official release ensures your installation includes the newest features, bug fixes, and security updates.
Step 8: Set File Permissions
Correct file ownership and permissions are essential for both security and functionality. Apache must be able to read your website files, while WordPress needs appropriate permissions to upload media, install themes, and apply updates.
Assign ownership of the WordPress directory to Apache’s web server user:
sudo chown -R www-data:www-data /var/www/example.com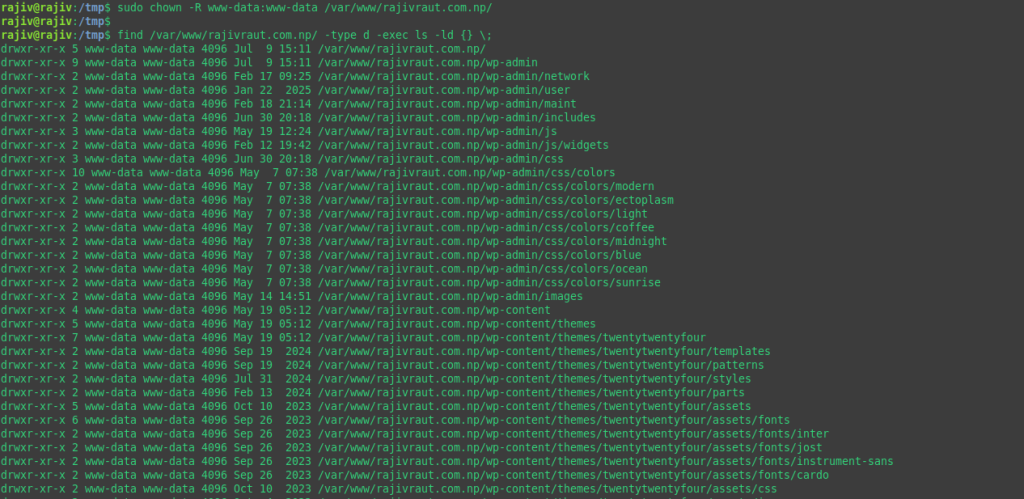
Set recommended directory permissions:
sudo find /var/www/example.com -type d -exec chmod 755 {} \;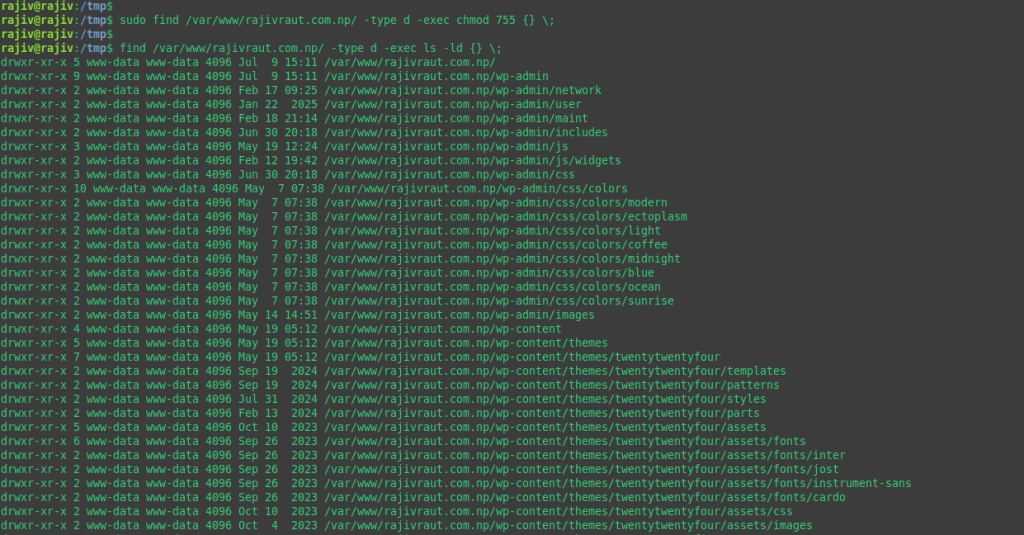
Set recommended file permissions:
sudo find /var/www/example.com -type f -exec chmod 644 {} \;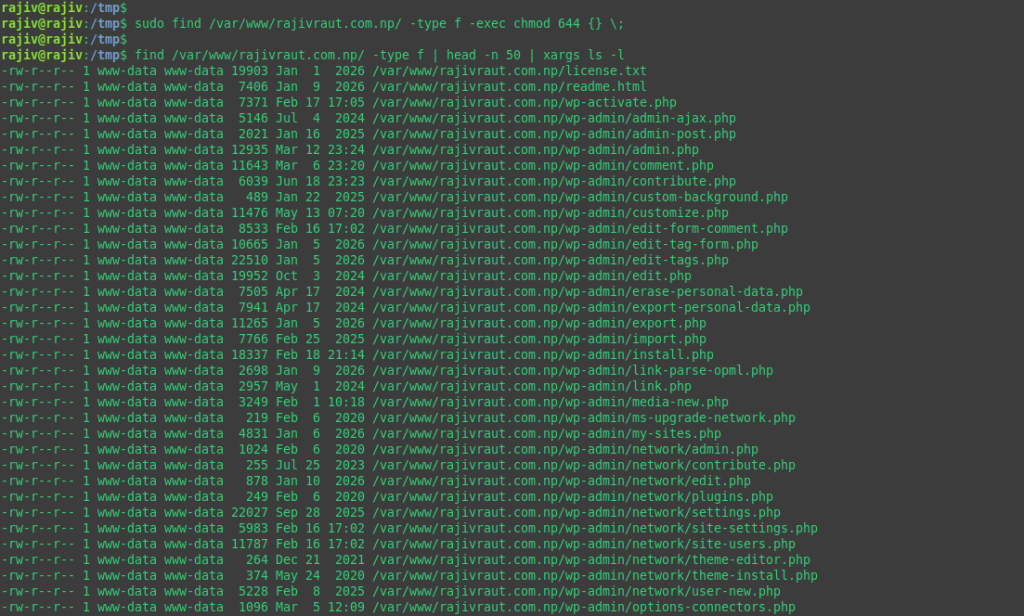
These permissions strike a good balance between security and usability for most production WordPress deployments. Avoid granting overly permissive permissions such as 777, as they can expose your server to unnecessary security risks.
Step 9: Configure WordPress
Navigate to your WordPress installation directory and create the main configuration file from the provided template:
cd /var/www/example.com
cp wp-config-sample.php wp-config.php
sudo vim wp-config.php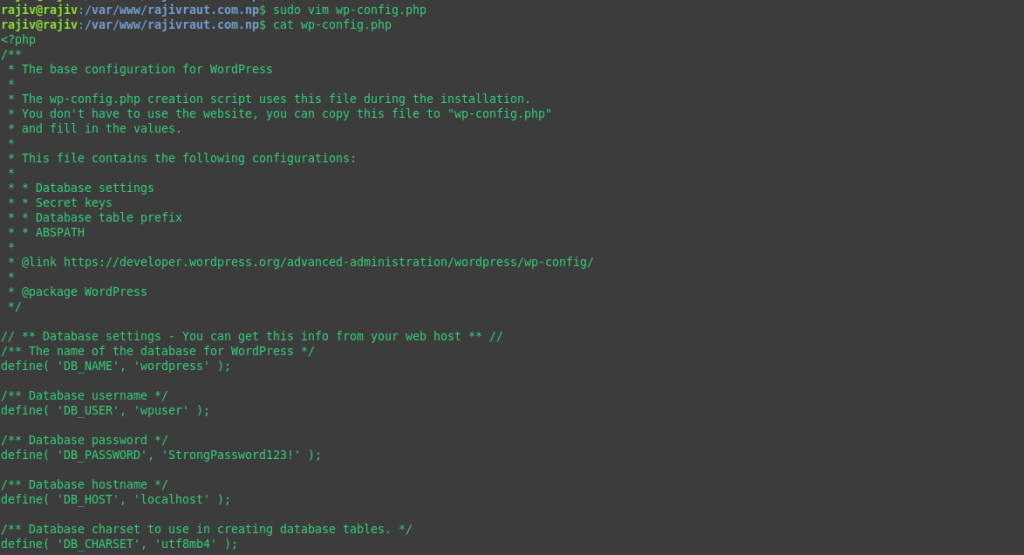
Locate the database configuration section and update it with the credentials you created earlier:
define('DB_NAME', 'wordpress');
define('DB_USER', 'wpuser');
define('DB_PASSWORD', 'StrongPassword123!');
define('DB_HOST', 'localhost');
Replace StrongPassword123! with the password you assigned to the wpuser MySQL account
Generate Authentication Keys and Salts
WordPress uses unique security keys and salts to encrypt authentication cookies and protect user sessions.
Generate a fresh set by running:
curl -s https://api.wordpress.org/secret-key/1.1/salt/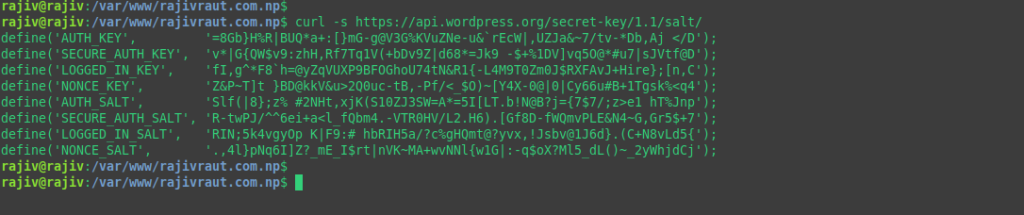
Copy the generated output and replace the existing placeholder key definitions in wp-config.php.
Using freshly generated keys improves the security of your WordPress installation and helps protect user authentication sessions.
Step 10: Create an Apache Virtual Host
Create a new Apache Virtual Host configuration for your domain:
sudo nano /etc/apache2/sites-available/example.com.conf
Add the following configuration:
<VirtualHost *:80>
    ServerName example.com
    ServerAlias www.example.com

    DocumentRoot /var/www/example.com

    <Directory /var/www/example.com>
        AllowOverride All
        Require all granted
    </Directory>

    ErrorLog ${APACHE_LOG_DIR}/example.com-error.log
    CustomLog ${APACHE_LOG_DIR}/example.com-access.log combined
</VirtualHost>
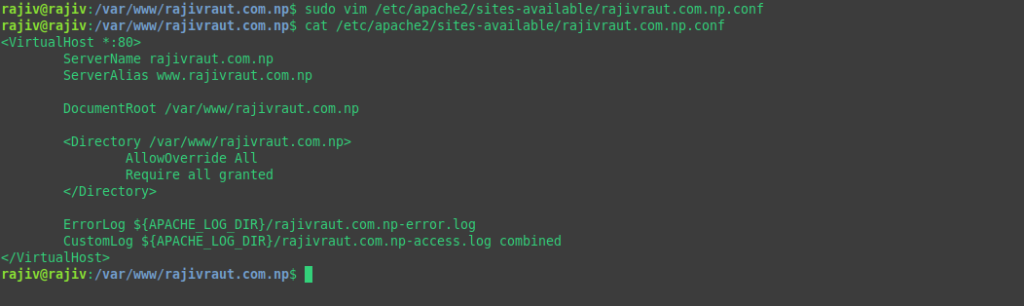
Save the file, then enable the new Virtual Host and disable Apache’s default site:
sudo a2ensite example.com.conf
sudo a2dissite 000-default.conf
sudo apachectl configtest
sudo systemctl reload apache2
The apachectl configtest command checks your Apache configuration for syntax errors before the service is reloaded. Running this command is considered a best practice, as it helps prevent configuration mistakes from causing website downtime.
Step 11: Point Your Domain to the Server
To make your website accessible over the internet, update your domain’s DNS records at your domain registrar or DNS provider.
Create the following A records:
| Type | Host | Points To |
| A | example.com | SERVER_IP |
| A | www | SERVER_IP |
Replace SERVER_IP with your server’s public IPv4 address.

DNS changes are not applied instantly. Depending on your DNS provider and TTL values, propagation may take anywhere from a few minutes to several hours before your domain begins resolving to the new server.
Step 12: Secure Your Site with a Let’s Encrypt SSL Certificate
After your domain has finished pointing to the server, install Certbot and use it to obtain a free SSL/TLS certificate from Let’s Encrypt.
Install Certbot and its Apache plugin:
sudo apt install certbot python3-certbot-apache -y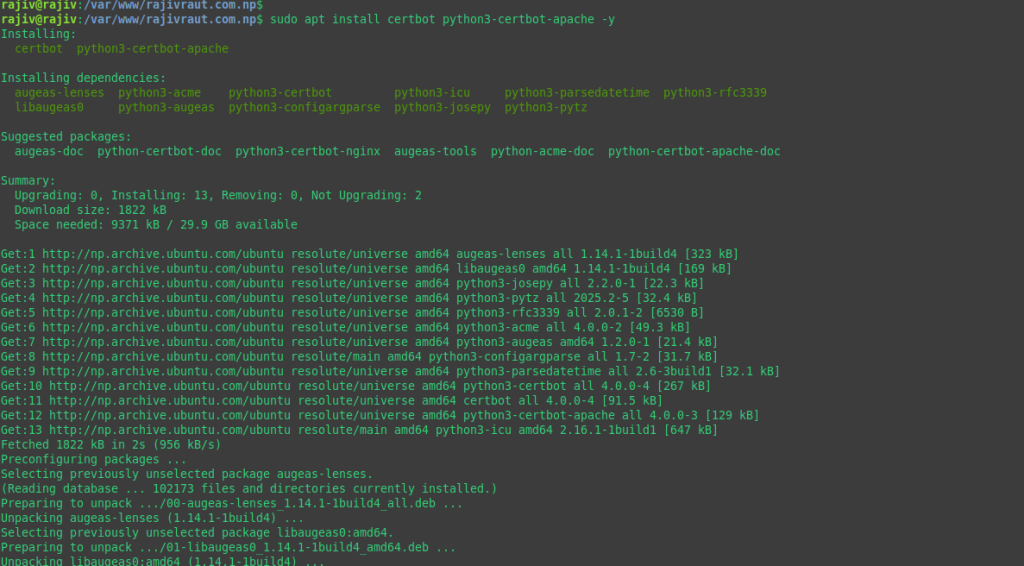
Request and install the certificate:
sudo certbot --apache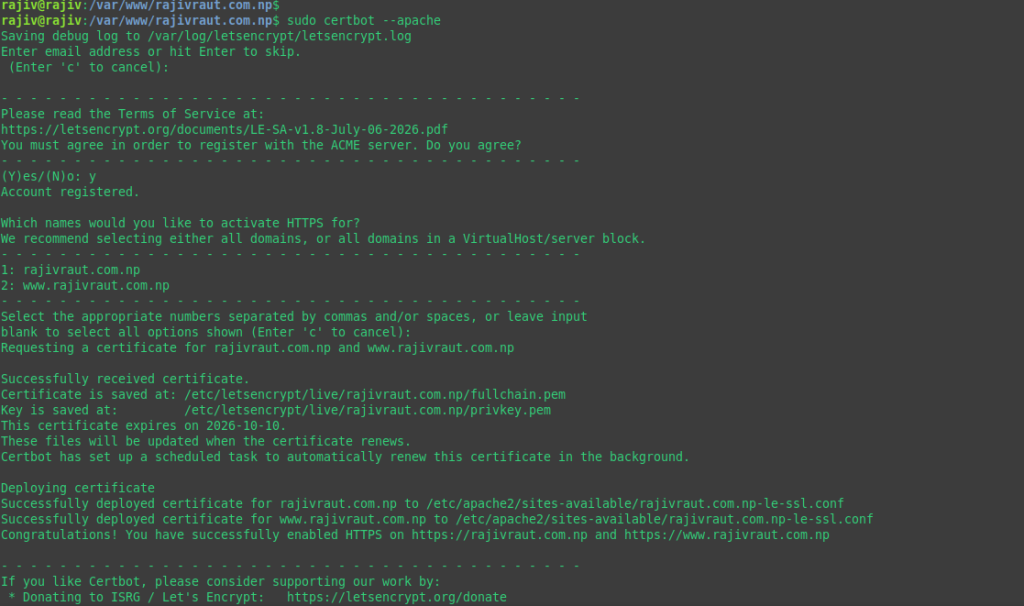
During the setup process, Certbot will ask whether you’d like to redirect all HTTP traffic to HTTPS. For a production website, choose Redirect, so visitors always access your site over a secure connection.
After the certificate has been installed, verify that automatic renewal is working:
sudo certbot renew --dry-run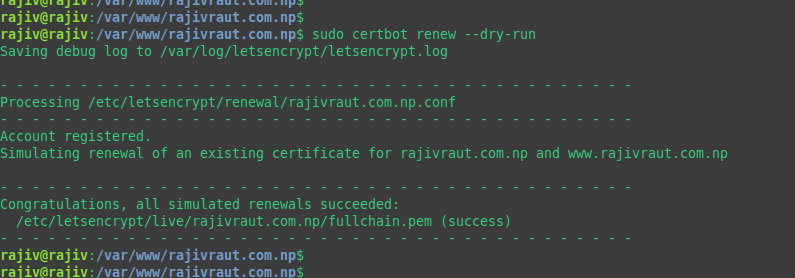
Let’s Encrypt certificates are valid for 90 days, but Certbot automatically configures scheduled renewals. Running a dry renewal test confirms that the renewal process will succeed before the certificate reaches its expiration date.
Step 13: Complete the WordPress Installation
Open your browser and navigate to:
You should be greeted by the WordPress installation wizard.
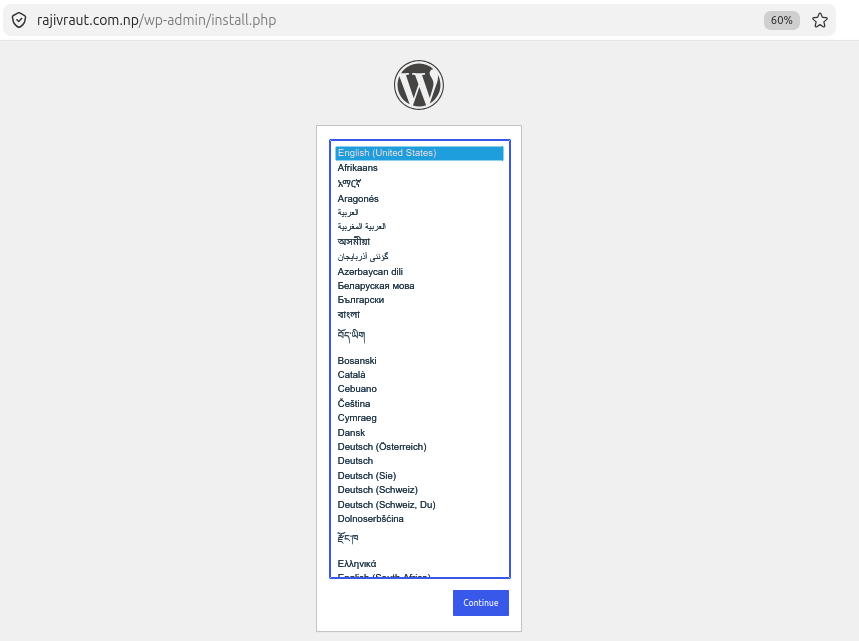
Complete the setup by providing:
- Your Site Title
- An Administrator Username
- A strong, unique Administrator Password
- Your Email Address
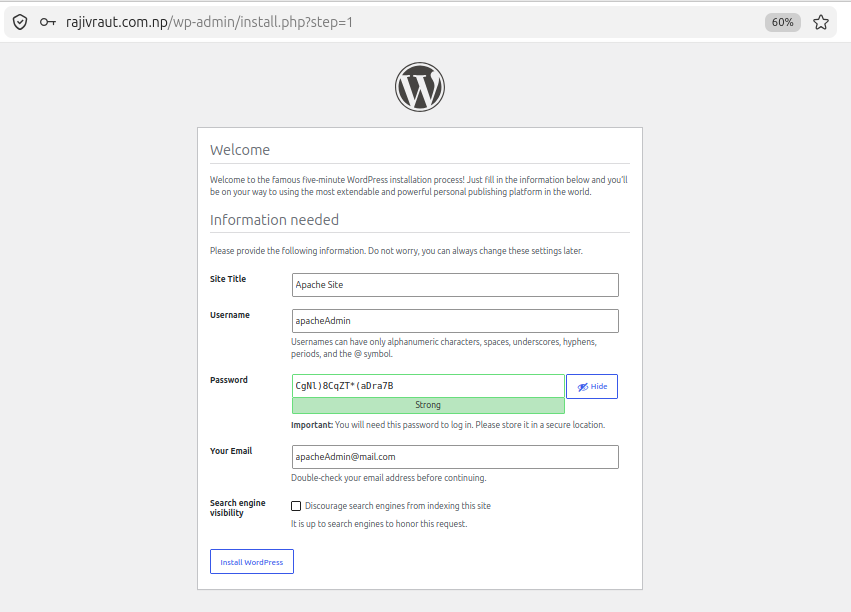
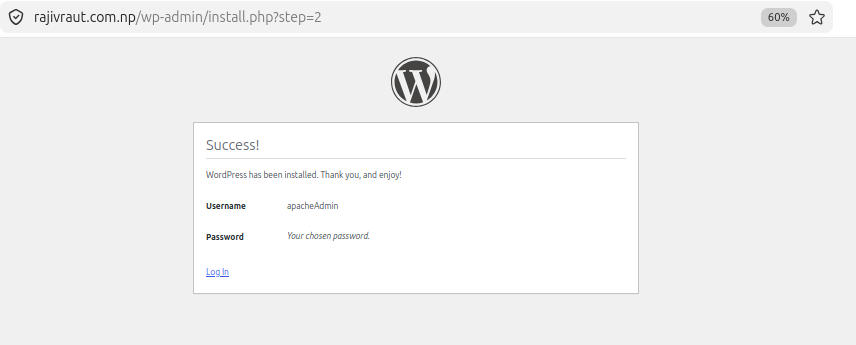
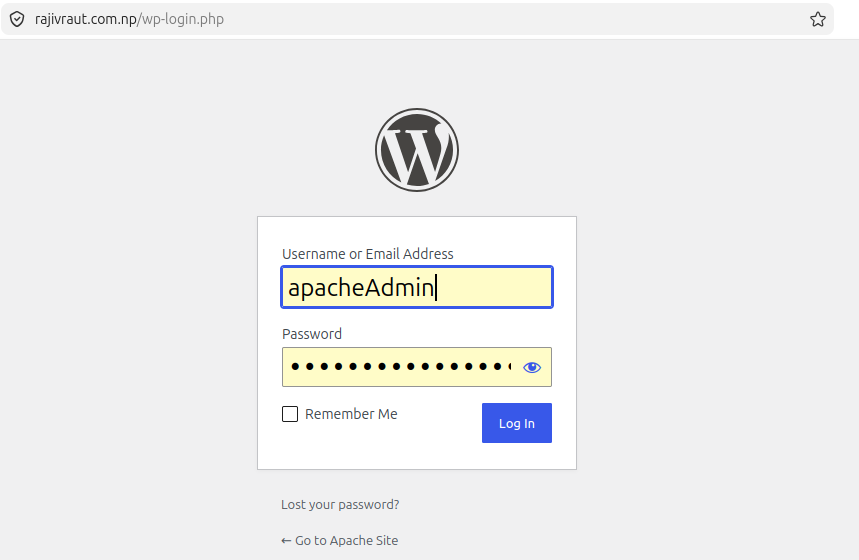
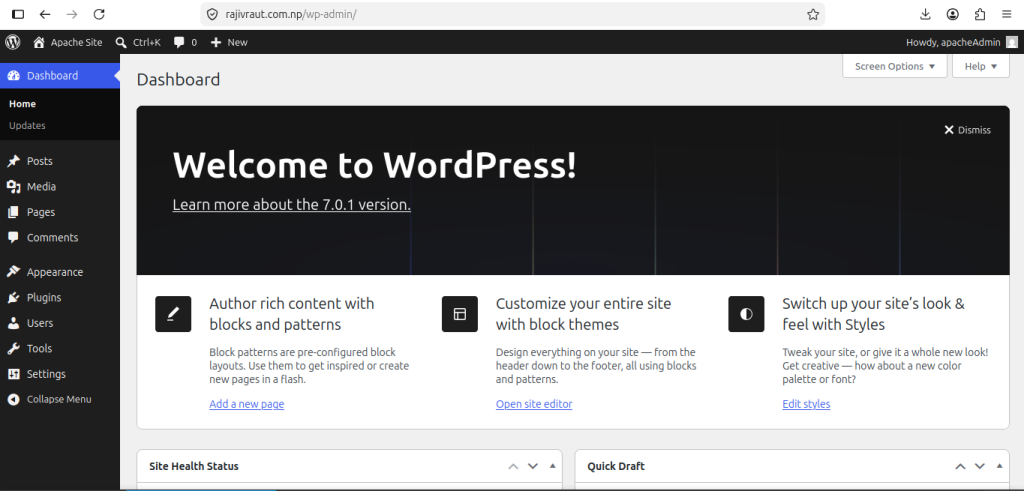
Once you’ve finished the installer, WordPress will create the necessary configuration and database tables, and your website will be ready to use.
Step 14: Verify That PHP-FPM Is Being Used
Although PHP-FPM has been installed and configured, it’s good practice to confirm that Apache is actually using it instead of the older mod_php handler.
Create a temporary PHP information page:
echo "<?php phpinfo(); ?>" | sudo tee /var/www/example.com/info.php
Visit the following URL in your browser:
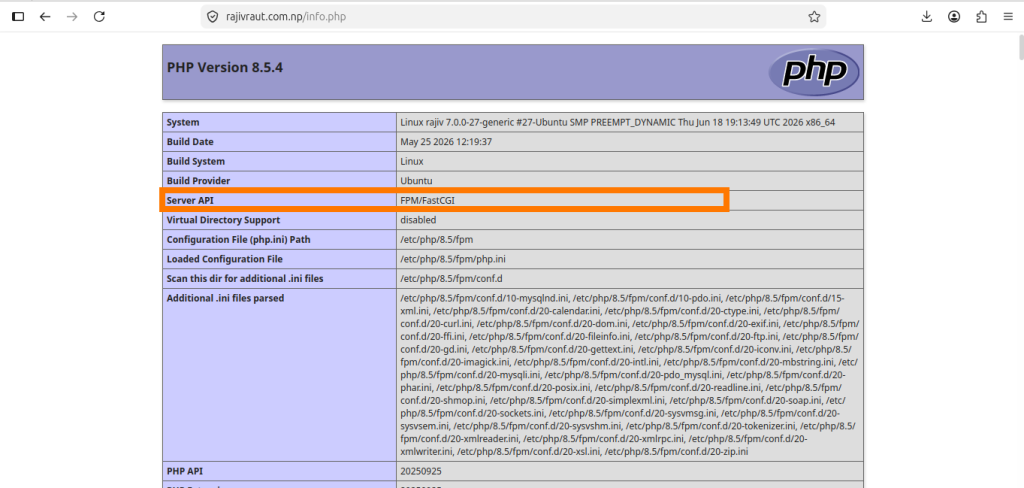
Locate the Server API field on the page.
- If it displays FPM/FastCGI, Apache is correctly processing PHP requests through PHP-FPM.
- If it displays Apache 2.0 Handler, PHP is still being served by mod_php, and you should revisit Steps 5 and 6 to verify your PHP-FPM configuration.
After confirming everything is working correctly, remove the test file immediately:
sudo rm /var/www/example.com/info.php
The phpinfo() page exposes detailed information about your server’s PHP configuration, installed extensions, and environment. Leaving it publicly accessible is considered a security risk, so it should always be deleted once you’ve finished testing.
Hardening Your WordPress Server
At this stage, your WordPress site is live and accessible over HTTPS. However, a production server should be secured beyond the default installation. The following best practices will help improve security, reliability, and long-term maintainability.
Enable Automatic Security Updates
Keeping your operating system up to date is one of the simplest ways to protect your server from known vulnerabilities.
Install and enable unattended-upgrades so Ubuntu can automatically apply security patches:
sudo apt install unattended-upgrades -y
sudo dpkg-reconfigure unattended-upgrades
This reduces the risk of leaving critical security updates unapplied.
Install Fail2Ban
Fail2Ban helps protect your server by monitoring log files and temporarily banning IP addresses that repeatedly fail authentication attempts.
Install it with:
sudo apt install fail2ban -y
sudo systemctl enable --now fail2ban
Out of the box, Fail2Ban provides protection for services such as SSH. You can also configure it to help defend WordPress login pages and other internet-facing services.
Configure the Firewall
Use UFW (Uncomplicated Firewall) to restrict incoming connections to only the services your server actually needs.
Allow SSH, HTTP, and HTTPS traffic:
sudo ufw allow OpenSSH

sudo ufw allow "Apache Full"

sudo ufw enable
Verify the active firewall rules:
sudo ufw statusFor a typical WordPress server, only the following ports should be publicly accessible:
- 22 — SSH
- 80 — HTTP
- 443 — HTTPS
Disable Directory Listing
Directory listing can expose your site’s file structure if an index file is missing.
To prevent this, ensure your Apache Virtual Host includes the -Indexes option:
<Directory /var/www/example.com>

   Options -Indexes

   AllowOverride All

   Require all granted

</Directory>
After making changes, test the configuration and reload Apache:
sudo apachectl configtest

sudo systemctl reload apache2
Keep Your Software Updated
Security is an ongoing process, not a one-time task. Regularly update every component of your stack, including:
- Ubuntu packages
- Apache
- PHP and its extensions
- MySQL
- WordPress core
- Themes
- Plugins
Promptly applying updates helps protect your server from newly discovered vulnerabilities and improves overall stability.
Maintain Reliable Backups
Backups are your last line of defense against accidental deletion, failed updates, hardware failures, and security incidents.
A complete backup strategy should include:
- The WordPress files (/var/www/example.com)
- The MySQL database
- Configuration files, where appropriate
Just as importantly, periodically test your backups by restoring them in a staging environment. A backup that hasn’t been verified may not be usable when you need it most.
Troubleshooting
Even with a careful setup, it’s common to encounter a few issues during your first deployment. The following are some of the most common problems along with the steps to diagnose and resolve them.
Apache Won’t Start or Fails to Reload
If Apache refuses to start or reload, begin by testing its configuration:
sudo apachectl configtestIn most cases, this command identifies the configuration file and line number responsible for the error.
Common causes include:
- Port 80 or 443 is already in use. Check which process is listening on these ports:
sudo ss -tlnp | grep -E ':80|:443'- Another web server, such as Nginx, may already be using the required ports.
- A syntax error in the Virtual Host configuration. Carefully review your example.com.conf file for missing closing tags, incorrect directives, or typographical errors.
Apache modules were enabled but the service wasn’t restarted. After running a2enmod or a2enconf, restart Apache to ensure the changes are applied:
sudo systemctl restart apache2For more detailed information, monitor Apache’s error log in real time:
sudo tail -f /var/log/apache2/error.logPort 80 or 443 Is Already in Use
If apachectl configtest succeeds but Apache still won’t start, another application is likely using one of the required ports.
Identify the process with:
sudo ss -tulpn | grep -E ':80|:443'Alternatively, check a specific port:
sudo lsof -i :80Common services that may cause conflicts include:
- Nginx
- Another Apache instance
- Docker containers exposing ports 80 or 443
- Other web services bound to those ports
Stop or reconfigure the conflicting service, then start Apache again.
The Virtual Host Isn’t Loading
If your browser continues to display the default Apache page or the wrong website, verify that your Virtual Host has been enabled.
List the enabled sites:
ls -l /etc/apache2/sites-enabled/You should see a symbolic link to example.com.conf.
If it isn’t present, enable the site and reload Apache:
sudo a2ensite example.com.conf

sudo systemctl reload apache2
If the issue persists, verify that:
- Your domain’s DNS records point to the correct server IP address.
- The ServerName and ServerAlias directives match your domain.
- The DocumentRoot points to the correct WordPress directory.
- The default site (000-default.conf) has been disabled if it’s no longer needed.
PHP Files Download Instead of Executing
If visiting index.php causes your browser to download the file instead of displaying the page, Apache isn’t passing PHP requests to PHP-FPM.
First, verify that the PHP-FPM service is running:
systemctl status php8.4-fpmIf the service is running, ensure that Apache’s PHP-FPM configuration and required modules are enabled:
sudo a2enconf php8.4-fpmsudo a2enmod proxy_fcgi setenvifsudo systemctl restart apache2Note: If your server is using a different PHP version, replace php8.4-fpm with the version installed on your system.
PHP-FPM Won’t Start
Check the current status of the PHP-FPM service:
systemctl status php8.4-fpmIf the service is stopped, start it and configure it to launch automatically during boot:
sudo systemctl start php8.4-fpmsudo systemctl enable php8.4-fpmIf PHP-FPM still fails to start, inspect its system log for the underlying error:
sudo journalctl -u php8.4-fpmA common cause is an invalid configuration in the PHP-FPM pool configuration file:
/etc/php/8.4/fpm/pool.d/www.confCorrect the reported error, then restart the service.
WordPress Displays a Blank White Page
A completely blank page—often referred to as the White Screen of Death (WSOD)—usually indicates that PHP encountered a fatal error that isn’t being displayed in the browser.
Enable WordPress debugging by adding the following lines to your wp-config.php file immediately above the line that says “That’s all, stop editing! Happy publishing.”:
define('WP_DEBUG', true);

define('WP_DEBUG_LOG', true);

define('WP_DEBUG_DISPLAY', false);
This configuration writes PHP errors to a log file without exposing them to visitors.
Monitor the debug log with:
sudo tail -f /var/www/example.com/wp-content/debug.logCommon causes include:
- A faulty or incompatible plugin
- A broken or incompatible theme
- An insufficient PHP memory limit
- A missing or disabled PHP extension
- PHP version compatibility issues
After resolving the problem, disable debugging by setting WP_DEBUG back to false. Leaving debug mode enabled on a production website may expose sensitive information and is not recommended.
Apache Is Using mod_php Instead of PHP-FPM
If the phpinfo() page from Step 14 reports Apache 2.0 Handler instead of FPM/FastCGI, Apache is still processing PHP with mod_php rather than PHP-FPM.
Begin by disabling the mod_php module:
sudo a2dismod php8.4sudo systemctl restart apache2Note: Replace php8.4 with the PHP version installed on your server if necessary.
Next, ensure the PHP-FPM configuration is enabled:
sudo a2enconf php8.4-fpmsudo systemctl restart apache2Finally, verify that the socket referenced in Apache’s PHP-FPM configuration matches the socket created by the running PHP-FPM service.
List the available sockets:
ls /run/php/Then compare the output with the socket configured in:
/etc/apache2/conf-available/php8.4-fpm.confThe socket names must match. If they don’t, update the Apache configuration to reference the correct PHP-FPM socket and restart Apache.
“Error Establishing a Database Connection”
This error usually indicates that WordPress cannot connect to the MySQL database.
The most common causes are:
MySQL isn’t running. Check its status:
sudo systemctl status mysqlIf necessary, start the service:
sudo systemctl start mysql- Incorrect database credentials. Verify that the following values in wp-config.php exactly match those created in Step 4:
- DB_NAME
- DB_USER
- DB_PASSWORD
- DB_HOST
The database user lacks sufficient privileges. Log in to MySQL and run the GRANT statement again, followed by:
FLUSH PRIVILEGES;To verify the database credentials independently of WordPress, attempt to connect directly from the command line:
mysql -u wpuser -p wordpressIf this connection fails, the problem lies with the MySQL configuration or credentials rather than WordPress itself.
After logging in successfully, you can verify that both the database and user exist:
SHOW DATABASES;SELECT User, Host FROM mysql.user;MySQL “Access Denied” Error
If MySQL returns an error similar to:
ERROR 1045 (28000): Access denied for userthe database user’s privileges may be incorrect or missing.
Reconnect to MySQL as an administrative user and reapply the required permissions:
GRANT ALL PRIVILEGES ON wordpress.* TO 'wpuser'@'localhost';

FLUSH PRIVILEGES;
After updating the privileges, try connecting again using the wpuser account. If the connection succeeds, WordPress should also be able to connect to the database successfully.
Certbot Fails to Issue an SSL Certificate
Before Certbot can obtain a certificate, your domain must resolve to the server and HTTP traffic on port 80 must be accessible from the internet.
If certificate issuance fails, work through the following checks.
Verify DNS Resolution
Confirm that your domain resolves to your server’s public IP address:
dig +short example.comThe command should return your server’s IP address. If it doesn’t, DNS propagation is still in progress. Wait for the changes to propagate before running Certbot again.
Verify Firewall Rules
Check that Ubuntu’s firewall allows HTTP and HTTPS traffic:
sudo ufw statusYou should see either the Apache Full profile or explicit rules allowing ports 80 and 443.
If you’re using a VPS provider such as AWS, DigitalOcean, Azure, or Google Cloud, also verify that any provider-level firewall or security group allows inbound traffic on ports 80 and 443. These network firewalls operate independently of UFW and can prevent Let’s Encrypt from validating your domain.
Run Certbot in Verbose Mode
For more detailed diagnostic information, rerun Certbot with verbose logging enabled:
sudo certbot --apache -vThe additional output often provides enough information to identify the exact cause of the failure.
The Site Loads Over HTTP but Not HTTPS
If your website is accessible over HTTP but HTTPS doesn’t work—or the browser displays a certificate warning—verify the following:
Check the installed certificates:
sudo certbot certificatesEnsure that:
- A valid certificate has been issued for your domain.
- The certificate has not expired.
- The Apache SSL module is enabled.
- Apache was restarted after Certbot completed its configuration.
If HTTPS works but your browser displays a mixed-content warning (for example, a padlock with a warning icon), some resources are still being loaded over HTTP.
In the WordPress dashboard, navigate to:
Settings → General
Verify that both of the following URLs begin with https://:
- WordPress Address (URL)
- Site Address (URL)
If your site was originally configured over HTTP, you may also need to update hard-coded HTTP URLs stored in the database.
403 Forbidden
A 403 Forbidden error usually indicates a permissions or Apache configuration problem.
The most common causes are:
- Incorrect file or directory permissions (see Step 8).
- The Require all granted directive is missing from the Virtual Host configuration.
- The DocumentRoot points to the wrong directory.
Verify that your Virtual Host includes the following directory configuration:
<Directory /var/www/example.com>

    AllowOverride All

    Require all granted

</Directory>
After making any changes, test the Apache configuration and reload the service:
sudo apachectl configtestsudo systemctl reload apache2If the configuration test succeeds and the DocumentRoot and permissions are correct, the site should become accessible.
The Site Loads but CSS or Styling Is Missing
If your website loads but appears as plain, unstyled HTML, the web server is usually working correctly. In most cases, the issue is related to WordPress configuration rather than Apache or PHP.
The most common causes are:
- Incorrect WordPress URLs. In the WordPress dashboard, navigate to Settings → General and verify that both the WordPress Address (URL) and Site Address (URL) use the correct domain and protocol (for example, https://example.com).
- Mixed-content issues. After enabling HTTPS, browsers will block stylesheets, JavaScript, images, and other assets that are still being requested over http://. Inspect your browser’s developer console for mixed-content warnings and update any outdated URLs.
- Incorrect file permissions. If the active theme or the wp-content directory cannot be read by the web server, CSS and other assets may fail to load.
- Browser cache. Browsers often cache stylesheets aggressively. Perform a hard refresh (Ctrl + F5 or Ctrl + Shift + R) or test the site in a private/incognito window before investigating further.
File Uploads or Plugin/Theme Installation Fails
If WordPress reports errors such as “Unable to create directory” or requests FTP credentials when installing plugins or themes, the web server likely doesn’t have permission to write to the WordPress directory.
Reapply the recommended ownership and permissions:
sudo chown -R www-data:www-data /var/www/example.comsudo find /var/www/example.com -type d -exec chmod 755 {} \;sudo find /var/www/example.com -type f -exec chmod 644 {} \;In most cases, ensuring that the www-data user owns the WordPress files resolves these issues and allows WordPress to install updates, themes, plugins, and media uploads without requesting FTP credentials.
500 Internal Server Error After Enabling Permalinks or Editing .htaccess
A 500 Internal Server Error after enabling pretty permalinks is usually caused by an Apache configuration issue or an invalid .htaccess file.
First, verify that your Apache Virtual Host allows .htaccess overrides:
<Directory /var/www/example.com>

    AllowOverride All

    Require all granted

</Directory>
Without AllowOverride All, WordPress cannot use its rewrite rules, which may result in broken permalinks or server errors.
Next, ensure that Apache’s rewrite module is enabled:
sudo a2enmod rewritesudo systemctl restart apache2If the problem persists, inspect Apache’s error log:
sudo tail -f /var/log/apache2/error.logA malformed .htaccess file or an invalid Apache directive will typically be reported in the log, making it much easier to identify and resolve the underlying issue.
Where to Look: Log Locations
When troubleshooting a WordPress server, knowing where each component writes its logs can save a significant amount of time. The following locations are the first places to check when diagnosing problems.
| Component | Log Location |
| Apache Error Log | /var/log/apache2/error.log |
| Apache Access Log | /var/log/apache2/access.log |
| PHP-FPM | journalctl -u php8.4-fpm |
| MySQL | journalctl -u mysql |
| System Logs | journalctl -xe |
| UFW Firewall | journalctl -u ufw |
| WordPress Debug Log (when WP_DEBUG_LOG is enabled) | /var/www/example.com/wp-content/debug.log |
Note: If you’re using a different PHP version, replace php8.4-fpm with the version installed on your server.
Handy Diagnostic Commands
These commands are useful for quickly checking the health and configuration of your server.
| Purpose | Command |
| Check Apache status | systemctl status apache2 |
| Check PHP-FPM status | systemctl status php8.4-fpm |
| Check MySQL status | systemctl status mysql |
| Test Apache configuration | apachectl configtest |
| List enabled Apache modules | apachectl -M |
| List installed PHP modules | php -m |
| Show listening ports | ss -tulpn |
| Display firewall rules | ufw status |
| Verify DNS resolution | dig example.com |
| View installed SSL certificates | certbot certificates |
| Check PHP version | php -v |
| View disk usage | df -h |
| View memory usage | free -h |
| Monitor running processes | top or htop |
General Debugging Workflow
When something isn’t working, avoid changing multiple settings at once. A structured troubleshooting process makes it much easier to identify the root cause.
- Validate the server configuration.
Before restarting Apache, verify that its configuration contains no syntax errors:
sudo apachectl configtest- Verify that all required services are running.
Check the status of Apache, PHP-FPM, and MySQL:
systemctl status apache2systemctl status php8.4-fpmsystemctl status mysql- Review the logs.
Examine the Apache error log, PHP-FPM journal, MySQL logs, or the WordPress debug log (if enabled) for detailed error messages. - Verify network connectivity.
Confirm that:- DNS resolves to the correct server.
- Ports 80 and 443 are reachable.
- Firewall rules allow incoming web traffic.
- Check file ownership and permissions.
Ensure the WordPress directory is owned by www-data and that directories and files use the recommended 755/644 permission scheme. - Test each component independently.
Isolate the problem by testing one layer at a time:- Apache
- PHP-FPM
- MySQL
- WordPress
- This approach is far more effective than assuming the issue originates in WordPress.
- Restart or reload services after making changes.
Many configuration changes don’t take effect until the corresponding service has been restarted or reloaded.
Following this workflow helps you quickly determine whether the issue lies with the web server, PHP, the database, networking, or WordPress itself. By isolating each layer individually, you’ll spend less time chasing symptoms and more time resolving the actual cause of the problem
Wrapping Up
Congratulations—you now have a production-ready WordPress server running on Ubuntu 26.04. Your stack combines Apache as the web server, PHP-FPM for efficient PHP processing, MySQL for reliable data storage, and Let’s Encrypt for automatic HTTPS encryption. Together, these components provide a stable, secure, and widely adopted foundation for hosting WordPress in production.
While setting up your own server requires more effort than using a managed hosting provider, the trade-off is complete control over your environment. You can fine-tune performance, implement your preferred caching strategy, strengthen security, and customize the server to meet your specific requirements—all without the limitations that often come with shared or managed hosting.
As your website grows, remember that maintaining a server is an ongoing responsibility. Keep your operating system and software up to date, monitor logs regularly, verify that backups are working, and review your security configuration from time to time. Consistent maintenance will help ensure your WordPress site remains fast, reliable, and secure for the long term.
With your server configured and WordPress installed, you’re ready to start building your website—whether it’s a personal blog, business website, portfolio, or a full-featured content platform.