

Table of Contents

Introduction
The MERN stack (MongoDB, Express.js, React.js, and Node.js) is one of the most popular technologies for building modern web applications. While developing a MERN application locally is relatively straightforward, deploying it to a production server (VPS) requires additional components such as a web server, process manager, firewall, and SSL certificate.
This guide explains how to deploy a MERN application on an Ubuntu server using:
- Node.js for running the backend application
- MongoDB for database management
- PM2 for process management
- Nginx as a reverse proxy and web server
- UFW for firewall protection
- Let’s Encrypt for SSL certificates
The goal is to create a secure, reliable, and production-ready deployment environment.
Understanding the Deployment Architecture
Before beginning the deployment process, it is important to understand how the different components work together.

React Frontend
React is responsible for rendering the user interface. After creating a production build, React generates static files such as HTML, CSS, and JavaScript.
These files are served directly by Nginx.
Express Backend
Express handles:
- API requests
- Authentication
- Business logic
- Database operations
- Data validation
The backend runs as a Node.js application and communicates with MongoDB.
MongoDB
MongoDB stores application data using collections and documents.
Typical examples include:
- Users
- Products
- Orders
- Blog posts
- Job applications
Nginx
Nginx acts as a reverse proxy between visitors and the Node.js application.
Benefits include:
- SSL termination
- Better performance
- Static file serving
- Security improvements
- Load balancing support
PM2
PM2 is a process manager for Node.js applications.
It ensures that:
- Applications remain online
- Crashed processes restart automatically
- Applications start after server reboots
- Logs are easily accessible
UFW Firewall
UFW (Uncomplicated Firewall) controls network access to the server.
Only necessary ports should be exposed publicly.
SSL Certificates
SSL encrypts communication between visitors and the server.
Benefits include:
- Secure authentication
- Data protection
- Better SEO rankings
- Browser trust
- Compliance with modern security standards
Understanding Request Flow
When a visitor accesses your website:
https://example.com
The request follows this path:
- Browser sends request to Nginx.
- Nginx serves React frontend files.
- React loads inside the browser.
- React requests data from backend APIs.
- Nginx forwards API requests to Node.js.
- Node.js processes the request.
- MongoDB stores or retrieves data.
- Node.js sends a response.
- React updates the user interface.
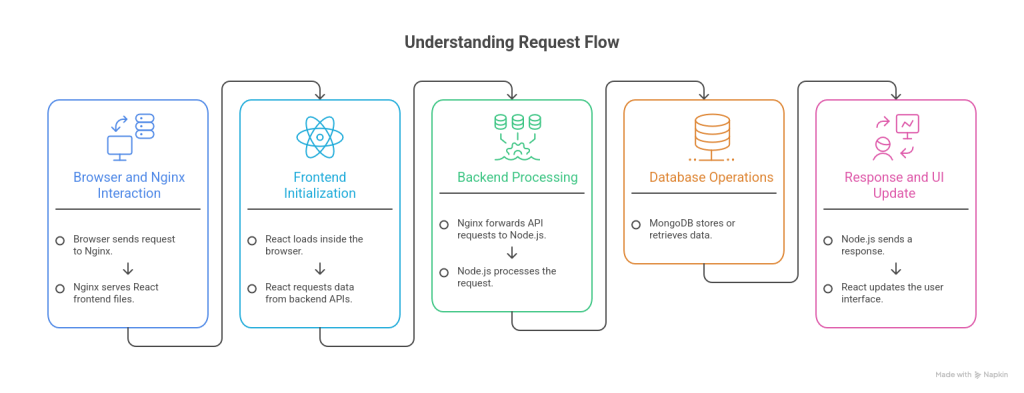
Understanding this workflow helps identify issues during troubleshooting.
Development vs Production
Many developers run MERN applications locally using:
npm run dev
or
npm start
This is suitable for development but not production.
Development Environment
Characteristics:
- Hot reloading
- Debugging enabled
- Local machine usage
- Temporary processes
Production Environment
Characteristics:
- Optimized frontend build
- Reverse proxy
- SSL encryption
- Process monitoring
- Firewall protection
- Automatic recovery after crashes
This guide focuses on creating a production-ready environment.
Prerequisites
Before starting, ensure you have:
- Ubuntu server with sudo access
- Registered domain name
- DNS management access
- Git repository containing the MERN application
- SSH access to the server
Step 1: Update the Server
Update installed packages:
sudo apt update -y
sudo apt upgrade -y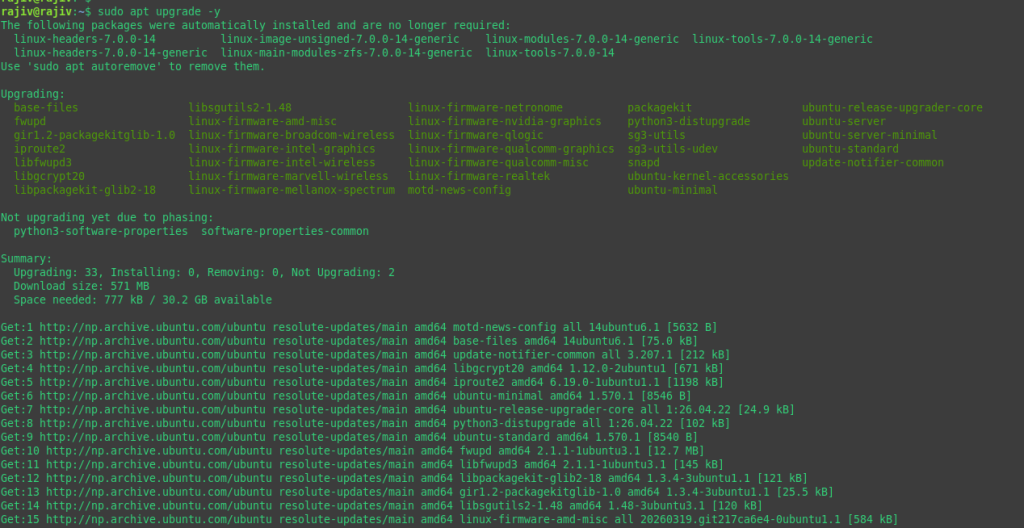
Keeping the system updated improves security and stability.
Step 2: Install Node.js
Add the official Node.js repository:
curl -fsSL https://deb.nodesource.com/setup_lts.x | sudo -E bash -

Install Node.js:
sudo apt install nodejs -y

Verify installation:
node -v
npm -v
Both commands should return version numbers.

Step 3: Install MongoDB
Install required packages:
sudo apt install curl gnupg ca-certificates -y

Import MongoDB’s signing key:
curl -fsSL https://pgp.mongodb.com/server-8.0.asc \
| sudo gpg --dearmor -o /usr/share/keyrings/mongodb-server.gpg

Add the MongoDB repository:
echo "deb [ signed-by=/usr/share/keyrings/mongodb-server.gpg ] https://repo.mongodb.org/apt/ubuntu noble/mongodb-org/8.0 multiverse" \
| sudo tee /etc/apt/sources.list.d/mongodb-org.list

Update package information:
sudo apt updateInstall MongoDB:
sudo apt install mongodb-org -y
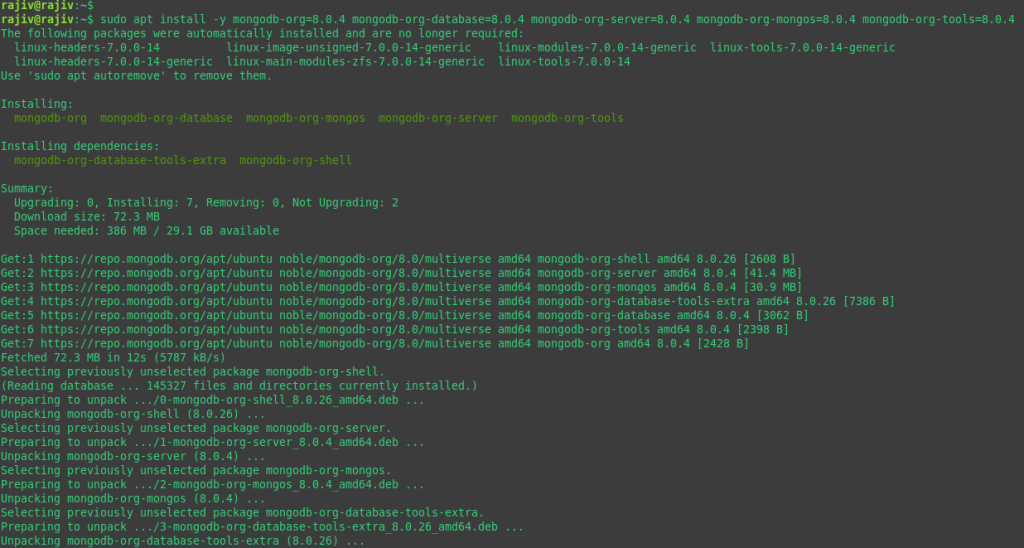
Start and enable the service:
sudo systemctl enable --now mongod

Verify status:
systemctl status mongod
Open MongoDB shell:
mongosh
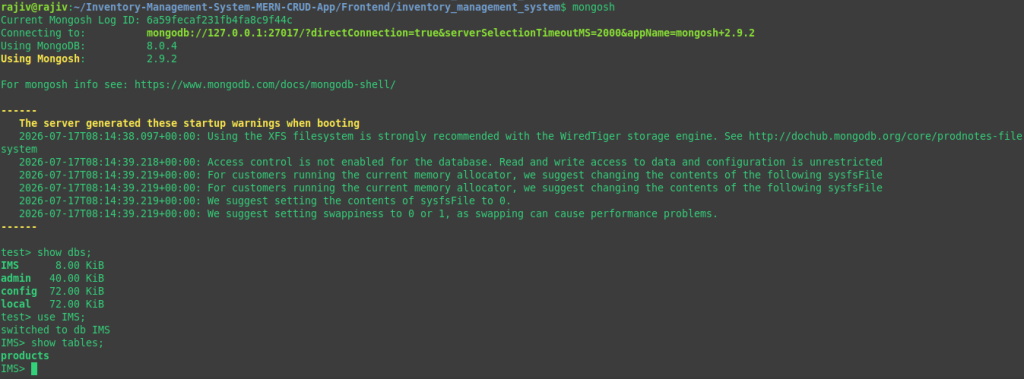
Step 4: Install Nginx
Install Nginx:
sudo apt install nginx -y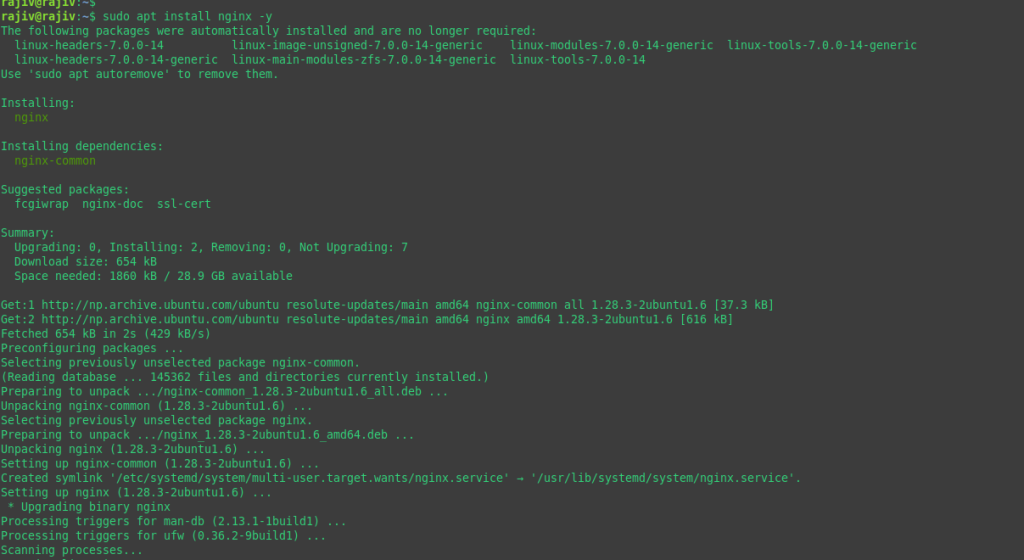
Enable and start the service:
sudo systemctl enable --now nginx
Verify status:
systemctl status nginx
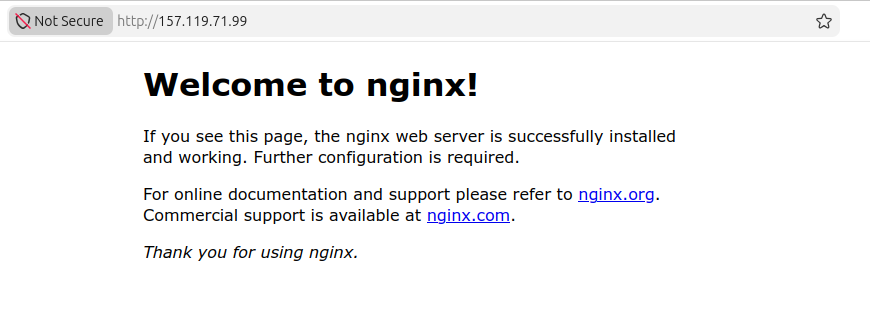
Visiting the server IP address should display the default Nginx page.
Example: http://157.121.54.10
Step 5: Clone the Application Repository
Clone your application repository:
git clone https://github.com/your-username/your-project.git
Move into the project directory:
cd your-project
Note: Replace the repository URL with your own project repository.
Step 6: Configure the Backend
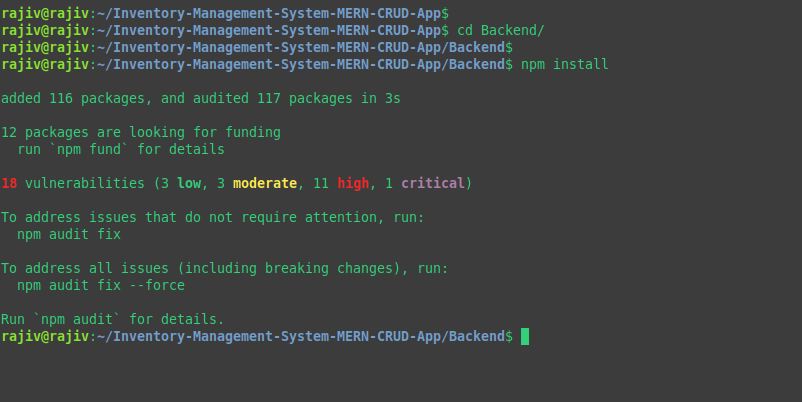
Navigate to the backend directory:
cd backendInstall dependencies:
npm install
Install PM2:
sudo npm install -g pm2

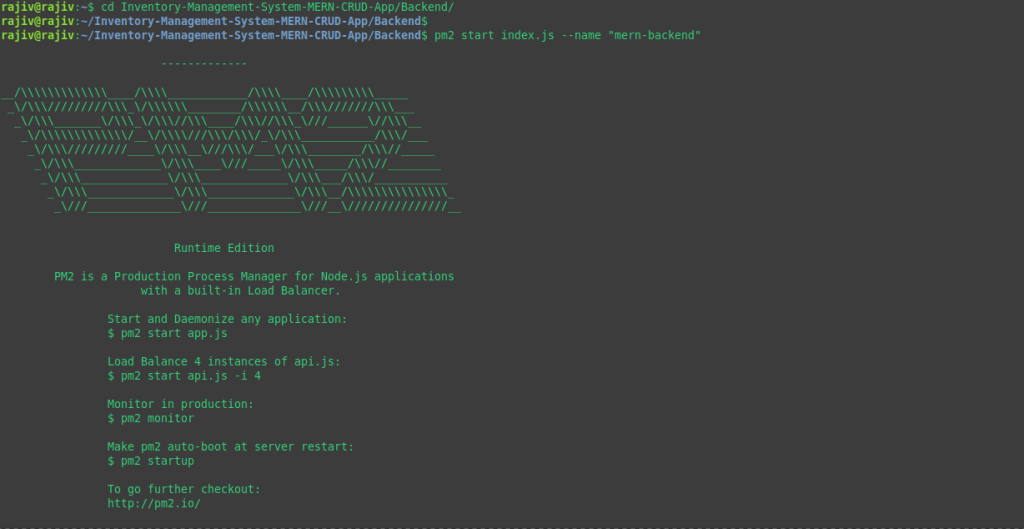
Start the application:
pm2 start server.js --name backend-app
Note: Replace server.js with your application’s entry file.
Save the process list:
pm2 saveEnable startup:
pm2 startup
Execute the command displayed by PM2.
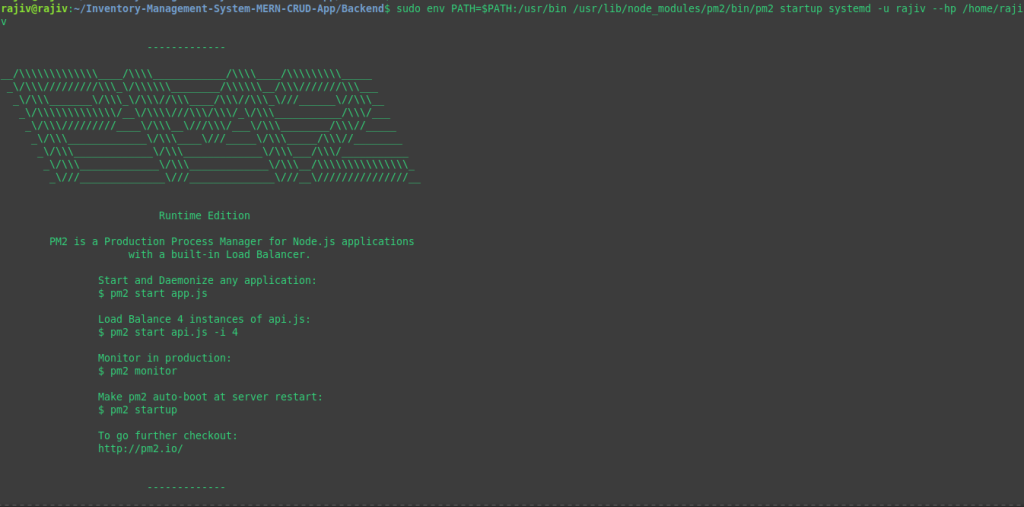
Verify:
pm2 listThe application should show an online status.

Step 7: Build the Frontend
Navigate to the frontend directory:
cd ../frontend
Install dependencies:
npm install
Create a production build:
npm run build
React generates a build directory containing optimized static files.
Step 8: Configure DNS
Create DNS records pointing the domain to the server.
Example:
| Record Type | Host | Value |
|---|---|---|
| A | @ | Server IP |
| A | www | Server IP |
Wait for DNS propagation before continuing.


Step 9: Deploy Frontend Files
Create a web root directory:
sudo mkdir -p /var/www/example.com

Copy build files:
sudo cp -r build/. /var/www/example.com/

Set ownership:
sudo chown -R www-data:www-data /var/www/example.com
Set permissions:
sudo chmod -R 755 /var/www/example.com
Step 10: Configure Nginx Reverse Proxy
Create a configuration file:
sudo nano /etc/nginx/sites-available/mern-appExample configuration:
server {
    listen 80;

    server_name example.com www.example.com;

    root /var/www/example.com;
    index index.html;

    location / {
        try_files $uri $uri/ /index.html;
    }

    location /api/ {
        proxy_pass http://127.0.0.1:3000;

        proxy_http_version 1.1;

        proxy_set_header Host $host;
        proxy_set_header X-Real-IP $remote_addr;
        proxy_set_header X-Forwarded-For $proxy_add_x_forwarded_for;
        proxy_set_header X-Forwarded-Proto $scheme;
    }
}
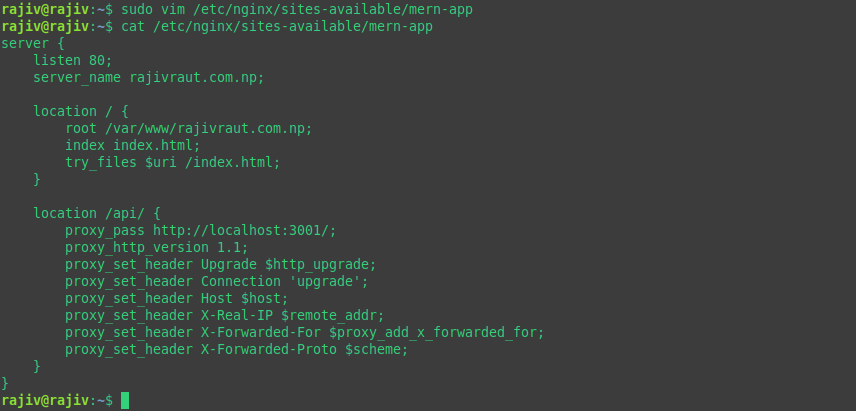
Enable the site:
sudo ln -s /etc/nginx/sites-available/mern-app \
/etc/nginx/sites-enabled/
Disable the default site:
sudo rm -f /etc/nginx/sites-enabled/default

Validate configuration:
sudo nginx -t
Reload Nginx:
sudo systemctl reload nginx
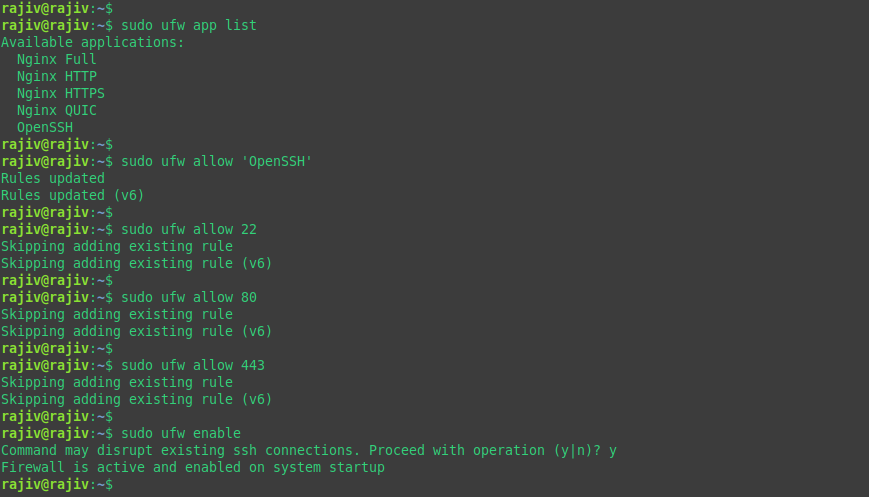
Step 11: Configure Firewall
Allow SSH:
sudo ufw allow OpenSSH
Allow HTTP:
sudo ufw allow 80/tcp
Allow HTTPS:
sudo ufw allow 443/tcp
Enable firewall:
sudo ufw enable
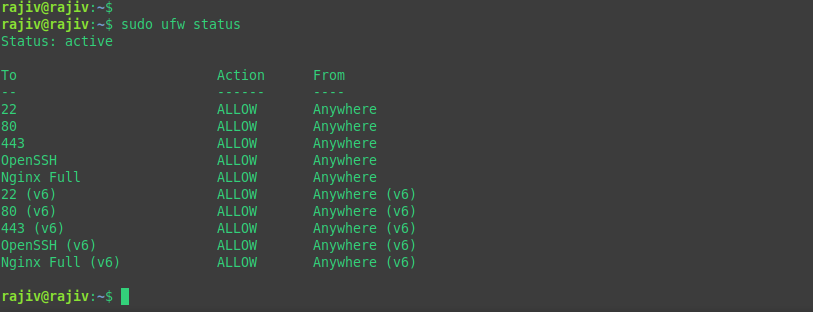
Verify rules:
sudo ufw status
Step 12: Install SSL Certificate
Install Certbot:
sudo apt install certbot python3-certbot-nginx -y

Generate a certificate:
sudo certbot --nginx -d example.com -d www.example.com

Verify renewal:
sudo certbot renew --dry-run
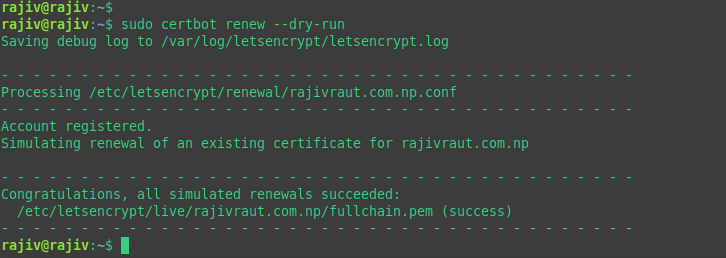
After successful completion, your site should be accessible through HTTPS.

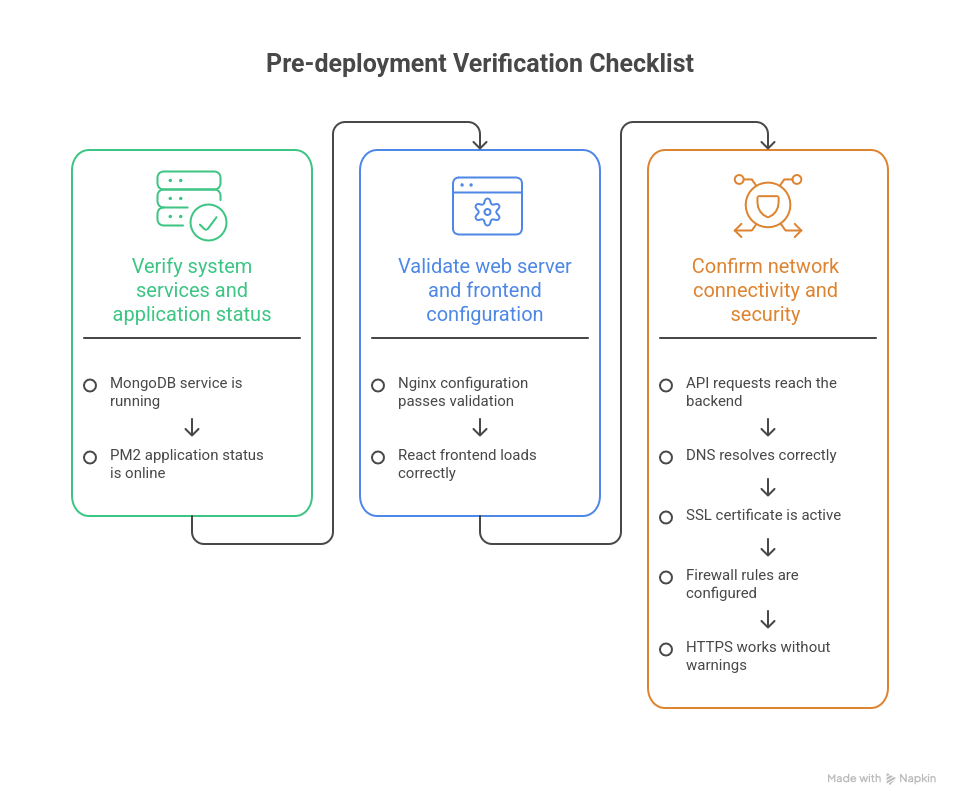
Verification Checklist
Before going live, verify the following:
- MongoDB service is running
- PM2 application status is online
- Nginx configuration passes validation
- React frontend loads correctly
- API requests reach the backend
- DNS resolves correctly
- SSL certificate is active
- Firewall rules are configured
- HTTPS works without warnings
Troubleshooting Guide
502 Bad Gateway
Symptoms
- Nginx displays a 502 error
- API requests fail
Solution
Check PM2 status:
pm2 listView logs:
pm2 logsVerify backend port:
ss -tulpnRestart application:
pm2 restart backend-appReact Routes Return 404
Symptoms
Refreshing routes such as:
/dashboard
/profile
/settings
returns a 404 error.
Solution
Verify Nginx contains:
location / {
    try_files $uri $uri/ /index.html;
}
Reload Nginx:
sudo nginx -t
sudo systemctl reload nginx
MongoDB Not Starting
Check service status:
systemctl status mongodView logs:
sudo journalctl -u mongodRestart:
sudo systemctl restart mongodBackend Cannot Connect to MongoDB
Verify MongoDB status:
systemctl status mongodTest connection:
mongoshVerify the MongoDB connection string inside environment variables.
SSL Certificate Generation Fails
Verify DNS:
dig example.comCheck:
- Correct server IP
- DNS propagation
- Port 80 accessibility
If using Cloudflare, temporarily switch DNS records to DNS Only mode.
Nginx Configuration Errors
Validate configuration:
sudo nginx -tCommon causes:
- Missing semicolons
- Incorrect file paths
- Duplicate server blocks
- Missing braces
PM2 Does Not Start After Reboot
Save processes:
pm2 saveEnable startup:
pm2 startupExecute the generated command.
CORS Errors
Install CORS package:
npm install corsExample:
const cors = require("cors");

app.use(cors({
  origin: "https://example.com"
}));
Restart the application:
pm2 restart backend-appFirewall Blocking Access
Check firewall status:
sudo ufw statusRequired ports:
22/tcp
80/tcp
443/tcp
Add missing rules if necessary.
Useful Diagnostic Commands
| Command | Purpose | Typical Usage |
|---|---|---|
pm2 list | Shows all Node.js applications managed by PM2 and their status. | Check whether your MERN backend is online, stopped, errored, or restarting repeatedly. |
pm2 logs | Displays real-time logs from PM2 applications. | Investigate application crashes, database connection errors, missing environment variables, API errors, etc. |
systemctl status nginx | Checks the Nginx web server status. | Verify whether Nginx is running after configuration changes or server reboot. |
systemctl status mongod | Checks MongoDB service status. | Confirm that MongoDB is running and accepting connections. |
sudo nginx -t | Tests Nginx configuration syntax without restarting. | Run before systemctl reload nginx to avoid breaking the website with invalid config. |
sudo journalctl -xe | Shows recent system and service errors from the systemd journal. | Investigate why a service failed to start or why the server is reporting system errors. |
sudo ufw status | Displays firewall rules and open ports. | Verify whether ports such as 80, 443, 3000, or 5000 are allowed through the firewall. |
ss -tulpn | Lists listening TCP/UDP ports and associated processes. | Check whether Nginx, Node.js, MongoDB, MySQL, or other services are listening on the expected ports. |
df -h | Shows disk usage in human-readable format. | Determine whether the server is out of storage space, which can cause deployment failures. |
free -m | Displays RAM and swap usage in MB. | Diagnose memory shortages causing application crashes or PM2 restarts. |
These commands help diagnose most deployment-related issues.
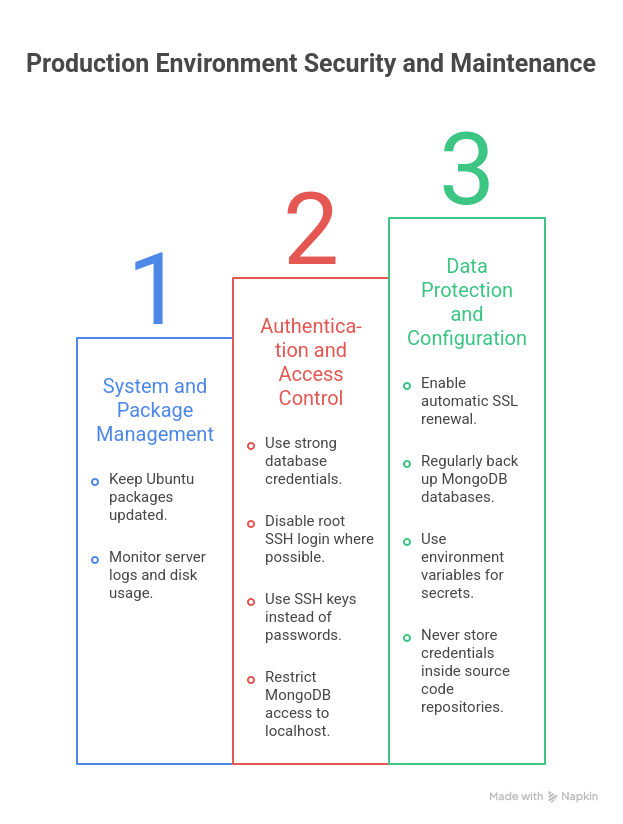
Security Best Practices
For production environments:
- Keep Ubuntu packages updated.
- Use strong database credentials.
- Disable root SSH login where possible.
- Use SSH keys instead of passwords.
- Restrict MongoDB access to localhost.
- Enable automatic SSL renewal.
- Regularly back up MongoDB databases.
- Monitor server logs and disk usage.
- Use environment variables for secrets.
- Never store credentials inside source code repositories.
Maintenance and Monitoring
After deployment, ongoing maintenance is important.
Recommended tasks include:
Weekly
- Review PM2 logs
- Check disk usage
- Verify application functionality
Monthly
- Update server packages
- Review firewall rules
- Verify SSL renewal status
Regularly
- Backup MongoDB databases
- Monitor application performance
- Review server security updates
Preventive maintenance significantly reduces downtime and security risks.
Conclusion
Deploying a MERN application in production involves much more than simply running a Node.js server. A complete deployment includes database configuration, process management, reverse proxy setup, firewall protection, DNS configuration, and SSL encryption.
By combining MongoDB, Node.js, PM2, Nginx, UFW, and Let’s Encrypt, you create a secure, maintainable, and scalable environment suitable for production workloads. Understanding how each component interacts with the others also makes troubleshooting easier and helps ensure long-term reliability of your applications.