

Table of Contents
![cover picture [Django & PostgreSQL]](https://www.ehostingserver.com/wp-content/uploads/2026/07/django-psql.jpeg "Effortlessly Deploy a Django Application on Ubuntu Using PostgreSQL, Gunicorn, and Nginx 2")
Overview
This knowledge base article provides a comprehensive guide for deploying a Django application in a production environment on an Ubuntu-based VPS using PostgreSQL, Gunicorn, and Nginx.
If you are looking for reliable infrastructure to host your application, consider deploying it on our high-performance VPS hosting. A VPS provides dedicated resources, full root access, and the flexibility needed to run production workloads securely and efficiently. You can explore our VPS hosting plans here: ehostingServer
Unlike Django’s built-in development server, which is intended only for local development and testing, a production deployment requires multiple components working together to provide security, scalability, reliability, and performance.
This guide explains not only how to deploy the application, but also why each component is required and how they interact within the deployment architecture. Whether you are deploying your first Django project or managing multiple production applications, the steps in this article follow widely accepted best practices for VPS-based deployments.
By following this guide, you will deploy a Django application that:
- Uses PostgreSQL as the production database.
- Serves application requests through Gunicorn.
- Uses Nginx as a reverse proxy and static file server.
- Automatically starts after system reboot using systemd.
- Supports secure HTTPS communication (optional).
- Follows recommended production deployment practices.
- Runs reliably on a production-ready VPS environment with full administrative control.
Production Architecture
The deployment described in this article follows a layered architecture.
                   Client Browser
                         │
                    HTTP / HTTPS
                         │
                  ┌──────────────┐
                  │    Nginx     │
                  │ Reverse Proxy│
                  └──────┬───────┘
                         │
                  Unix Socket / TCP
                         │
                  ┌──────────────┐
                  │  Gunicorn    │
                  │ WSGI Server  │
                  └──────┬───────┘
                         │
                  ┌──────────────┐
                  │    Django    │
                  │ Application  │
                  └──────┬───────┘
                         │
                  ┌──────────────┐
                  │ PostgreSQL   │
                  │  Database    │
                  └──────────────┘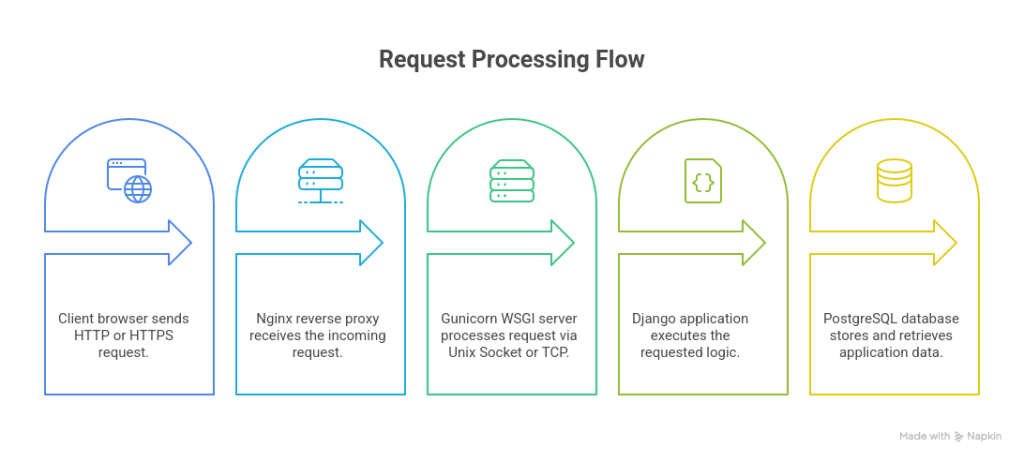
Each component performs a dedicated role, creating a secure and maintainable production environment.
How the Deployment Works
A typical client request follows this sequence:
- A user accesses the application’s URL from a web browser.
- The request reaches the Nginx web server.
- Nginx serves static files directly when applicable.
- Dynamic requests are forwarded to Gunicorn.
- Gunicorn executes the Django application.
- Django processes the request and communicates with PostgreSQL if database access is required.
- PostgreSQL returns the requested data.
- Django generates an HTTP response.
- Gunicorn returns the response to Nginx.
- Nginx sends the response back to the client.
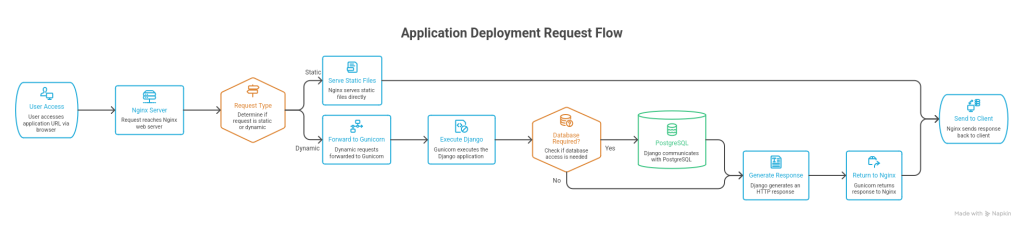
This architecture separates responsibilities among components, improving security, scalability, and performance.
Components Used in This Deployment
Ubuntu Server
Ubuntu provides the operating system for hosting the application. It offers long-term support (LTS) releases, regular security updates, and broad community support, making it a common choice for production deployments.
Django
Django is a high-level Python web framework that implements the application’s business logic, URL routing, authentication, templates, and database interactions.
PostgreSQL
PostgreSQL is an enterprise-grade relational database management system (RDBMS). Compared to SQLite, PostgreSQL supports concurrent connections, advanced indexing, transactions, and higher scalability, making it suitable for production environments.
Gunicorn
Gunicorn (Green Unicorn) is a WSGI application server responsible for running the Django application. It listens for requests from Nginx and executes the Django code to generate responses.
Nginx
Nginx acts as a reverse proxy positioned between clients and the Django application. It efficiently serves static assets, manages HTTPS connections, and forwards dynamic requests to Gunicorn.
systemd
systemd is the Linux service manager used to control Gunicorn. It ensures that the application starts automatically during system boot and can restart it if the service unexpectedly stops.
Why Not Use Django’s Development Server?
Django includes a lightweight development server (manage.py runserver) intended only for development and testing.
It should not be used in production because it:
- is not optimized for high request volumes,
- lacks advanced process management,
- does not efficiently serve static files,
- provides limited security features, and
- is not designed for long-running production workloads.
Using Gunicorn together with Nginx provides a more secure, scalable, and reliable deployment suitable for production environments.
Prerequisites
Before beginning the deployment, ensure that the following requirements are met.
Server Requirements
- Ubuntu Server 22.04 LTS or later
- Minimum 2 GB RAM (4 GB recommended)
- At least 20 GB available storage
- Stable internet connection
- SSH access to the server
- A non-root user with
sudoprivileges
Software Requirements
- Python 3.x
- pip
- PostgreSQL
- Nginx
- Gunicorn
- Git (if deploying from a repository)
Note: Commands below assume a Debian/Ubuntu system and use
apt. Always runsudo apt updatebefore installing new packages so you get the latest package index.
Deployment
Step 1: Update the System
bash command
sudo apt update && sudo apt upgrade -y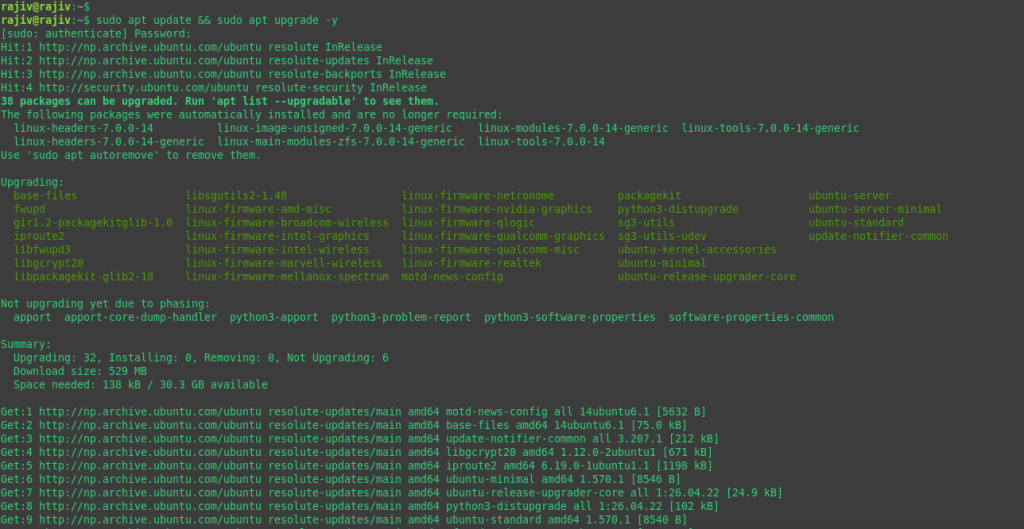
Keeps installed packages and the package index current before adding new software.
Step 2: Install Required System Packages
bash command
sudo apt install python3 python3-pip python3-venv nginx postgresql postgresql-contrib git -yThis installs:
- python3 / python3-pip / python3-venv — Python runtime, package manager, and virtual environment support
- nginx — reverse proxy / web server
- postgresql / postgresql-contrib — database server and common extensions
- git — for cloning the application repository
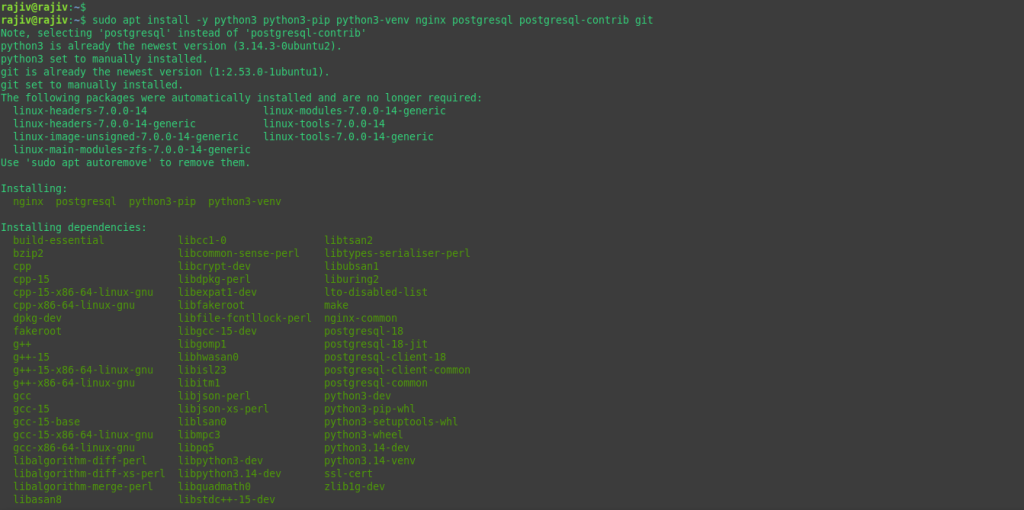
Verify the installation:
bash command
python3 --version
nginx -v
psql --version
git --version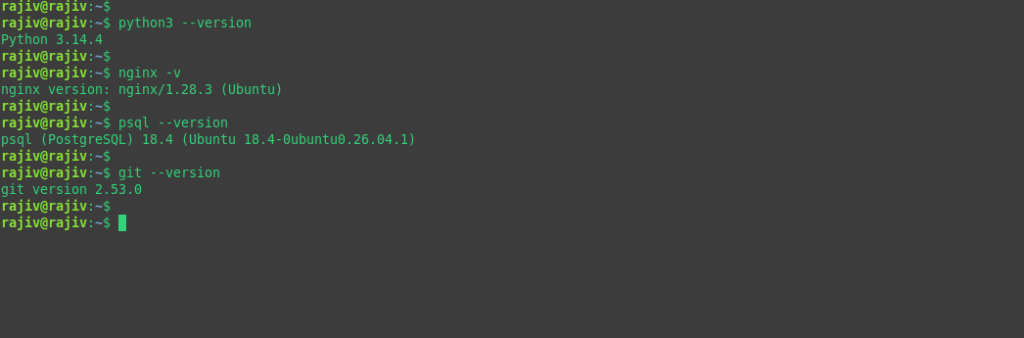
Step 3: Create the PostgreSQL Database and User
Open the PostgreSQL interactive shell:
bash command
sudo -u postgres psql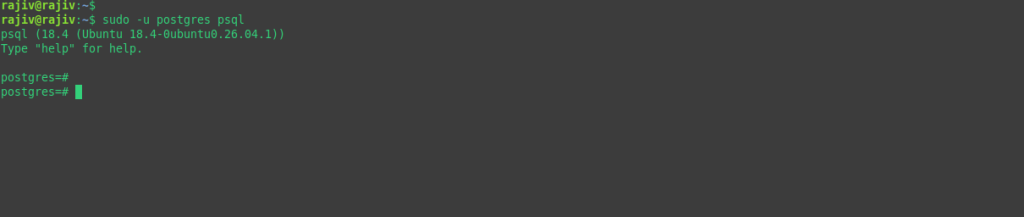
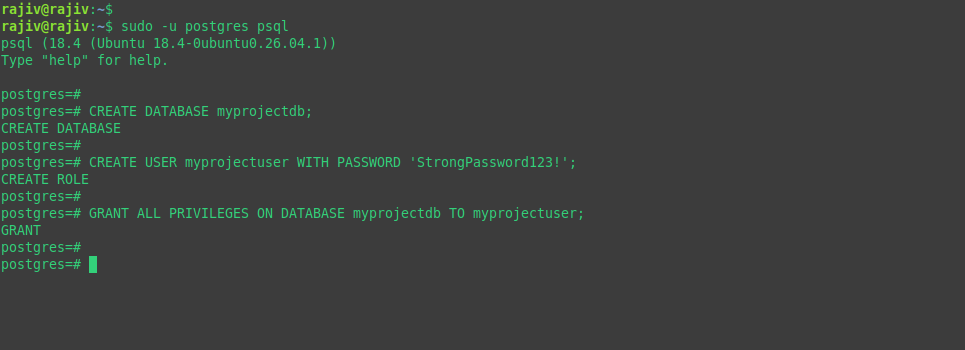
Inside the psql prompt, run:
sql query
CREATE DATABASE myprojectdb;
CREATE USER myprojectuser WITH PASSWORD 'StrongPassword123!';
GRANT ALL PRIVILEGES ON DATABASE myprojectdb TO myprojectuser;
\q
Note: Choose a strong, unique password — don’t reuse the example above in production.
Step 4: Prepare the Deployment Directory
bash command
sudo mkdir -p /var/www
cd /var/www/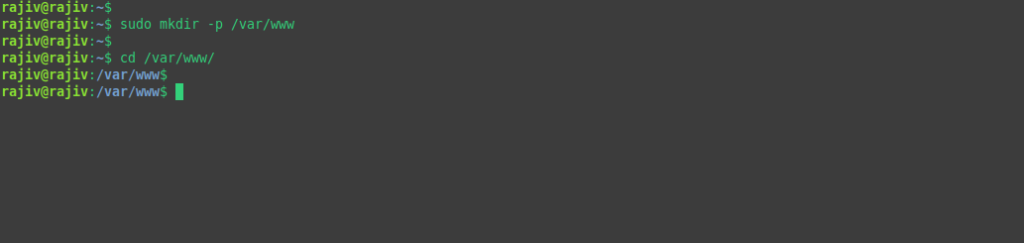
bash command
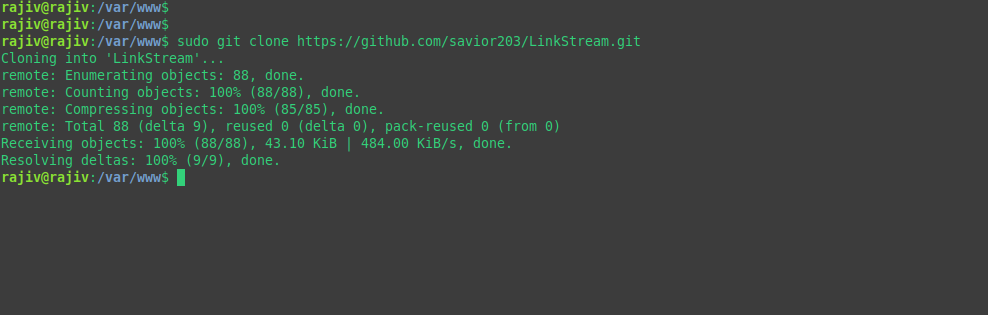
sudo git clone https://github.com/gituser/project.git
cd project
ls
Replace the repository URL with your project’s actual Git URL.
Step 5: Create and Activate a Virtual Environment
bash command
sudo python3 -m venv venvNote: The command is
python3 -m venv venv(the-m venvmodule flag). Writing it aspython3 venv venv— without-m— will fail withpython3: can't find '__main__' module.

bash command
source venv/bin/activate
Step 6: Set Ownership of the Project Directory
bash command
sudo chown -R owner:group /var/www/projectReplace owner:group with the actual user and group that should own the files — typically your deploy user initially, and www-data:www-data later once Gunicorn/Nginx need to serve the files (see Step 12).

Step 7: Install Python Dependencies
bash command
pip install -r requirements.txt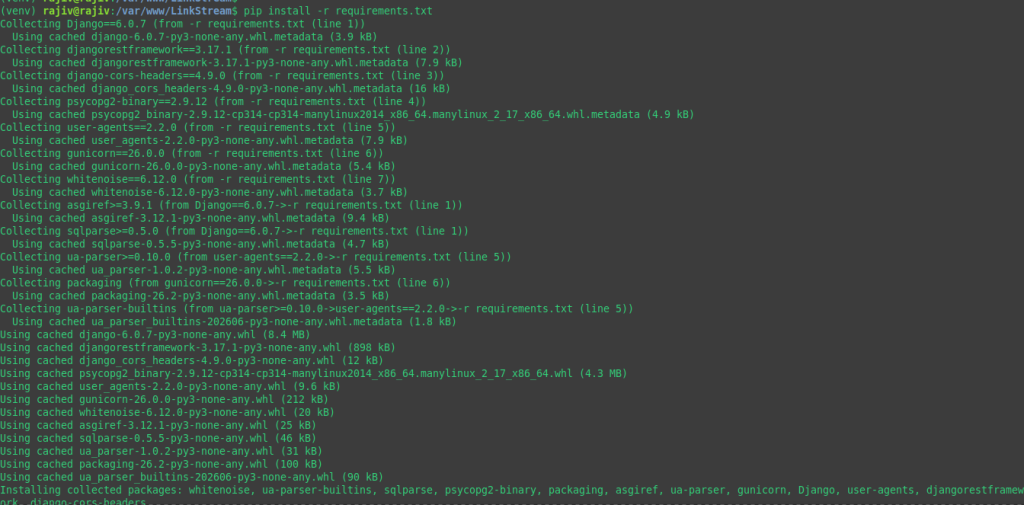
bash command
pip install gunicorn psycopg2-binary
- gunicorn — the production-grade WSGI HTTP server that will run your Django app
- psycopg2-binary — the PostgreSQL adapter for Python/Django
Step 8: Configure Environment Variables
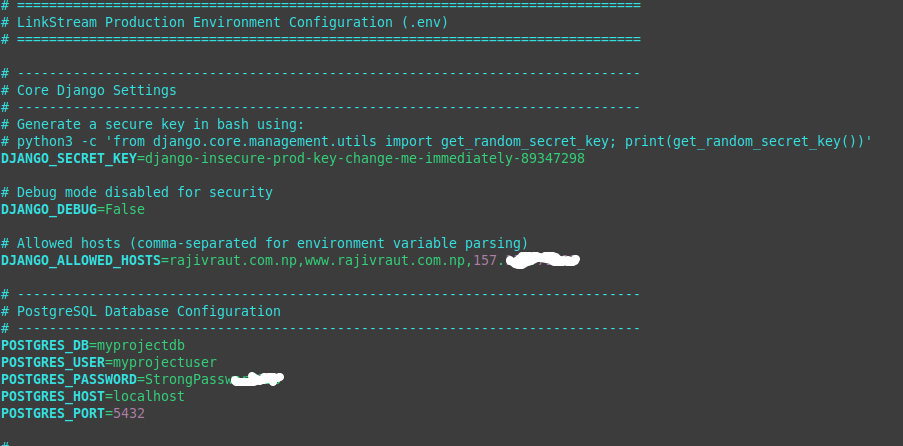
Create a .env file in the project root:
bash command
sudo vim .envAdd the following, adjusting values for your environment:
ini code
# ------------------------------------------------------------------------------ #
# Core Django Settings
# ------------------------------------------------------------------------------ #
# Generate a secure key in bash using:
# python3 -c 'from django.core.management.utils import get_random_secret_key;print(get_random_secret_key())'

DJANGO_SECRET_KEY=^@6=eoa$+w#me(@2(ttq^enk3d9p98@5uv26y^1rhk6=fdhfdr9lusrj*4ty
# Debug mode disabled for security
DJANGO_DEBUG=False

# Allowed hosts (comma-separated for environment variable parsing)
DJANGO_ALLOWED_HOSTS=example.com,www.example.com,203.0.113.10

# ------------------------------------------------------------------------------ #
# PostgreSQL Database Configuration
# ------------------------------------------------------------------------------ #
POSTGRES_DB=myprojectdb
POSTGRES_USER=myprojectuser
POSTGRES_PASSWORD=StrongPassword123!
POSTGRES_HOST=localhost
POSTGRES_PORT=5432
Critical security notes:
- Never commit
.envto version control. Add it to.gitignoreimmediately.- Always generate a real secret key using the command shown above — never ship the
django-insecure-...placeholder key to production. Django prefixes auto-generated dev keys withdjango-insecure-specifically so they’re easy to spot and rotate.DJANGO_DEBUGmust beFalsein production. Leaving debug mode on exposes stack traces, environment details, and settings to any visitor who triggers an error.- Your
settings.pyneeds to actually read these variables (e.g., viaos.environor a library likedjango-environ/python-decouple) for the.envfile to have any effect.
Step 9: Grant Schema Privileges to the Database User
Django 15+/PostgreSQL 15+ changed default schema permissions, so the app user usually needs explicit grants on the public schema:
bash command
sudo -u postgres psql -d myprojectdb -c "GRANT ALL ON SCHEMA public TO myprojectuser;"
sudo -u postgres psql -d myprojectdb -c "ALTER SCHEMA public OWNER TO myprojectuser;"
Step 10: Run Migrations and Create a Superuser
bash command
python manage.py migrate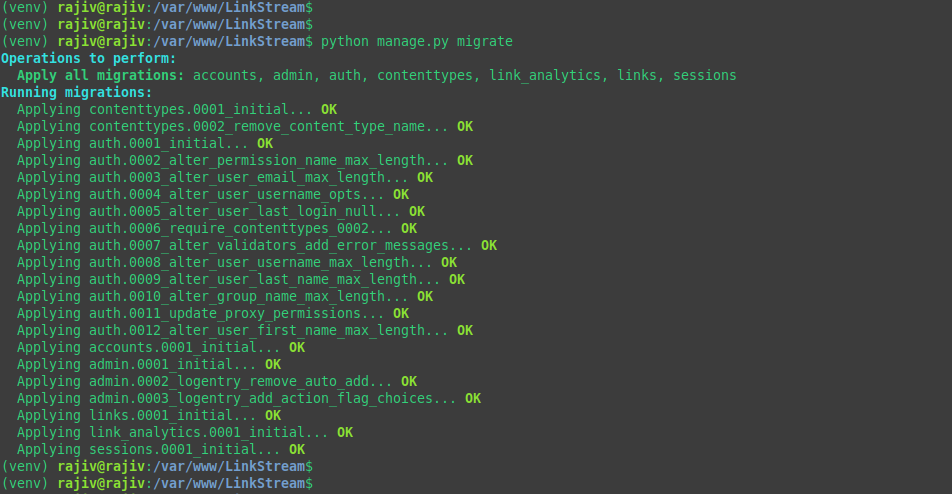
bash command
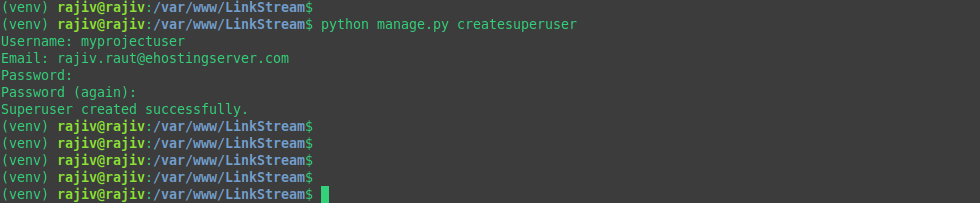
python manage.py createsuperuserFollow the interactive prompts to set the admin username, email, and password.
Step 11: Collect Static Files
bash command
python manage.py collectstaticThis copies all static assets into the directory defined by STATIC_ROOT in settings.py (referenced later as /var/www/project/staticfiles/ in the Nginx config).

Step 12: Smoke-Test the Application
First with the Django development server (for a quick sanity check only — never use this in production):
bash command
python manage.py runserver 0.0.0.0:8000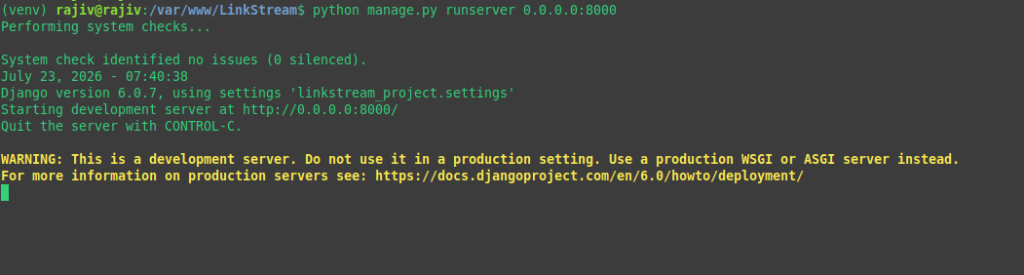
Visit http://<server-ip>:8000 in a browser, then stop the server with Ctrl+C.

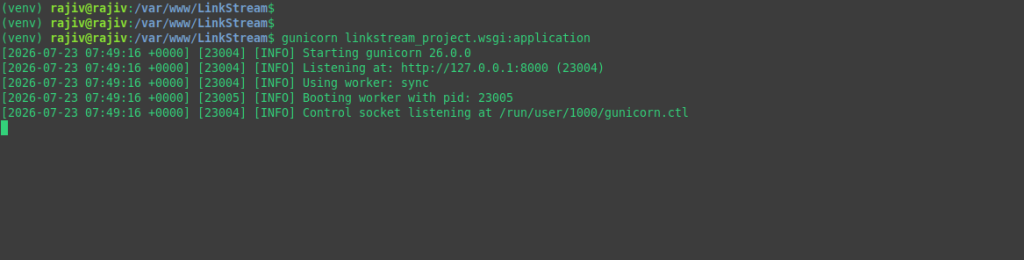
Next, confirm Gunicorn can serve the app directly:
bash command
gunicorn myproject.wsgi:applicationReplace myproject with your actual Django project’s module name (the folder containing wsgi.py). Stop with Ctrl+C once confirmed.
Step 13: Set Production Ownership
bash command
sudo chown -R www-data:www-data /var/www/projectwww-data is the default user Nginx and Gunicorn run as on Debian/Ubuntu — the app files need to be readable (and the socket writable) by this user.

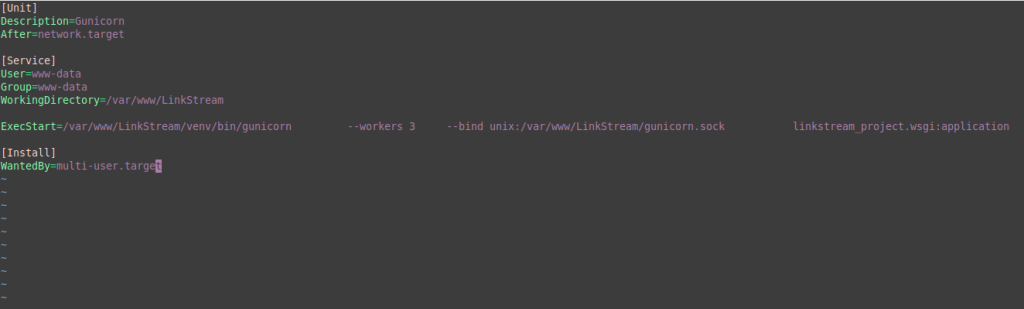
Step 14: Create a Gunicorn systemd Service
bash command
sudo vim /etc/systemd/system/gunicorn.serviceini code
[Unit]
Description=Gunicorn daemon for Django project
After=network.target

[Service]
User=www-data
Group=www-data
WorkingDirectory=/var/www/project

ExecStart=/var/www/project/venv/bin/gunicorn \
    --workers 3 \
    --bind unix:/var/www/project/gunicorn.sock \
    myproject.wsgi:application

[Install]
WantedBy=multi-user.target
Replace myproject.wsgi:application with your project’s actual WSGI path.
Note: A common rule of thumb for
--workersis(2 × CPU cores) + 1. Three workers is a reasonable default for a small single-core/dual-core VPS.
Enable and start the service:
bash command
sudo systemctl daemon-reload
sudo systemctl enable gunicorn.service
sudo systemctl start gunicorn.service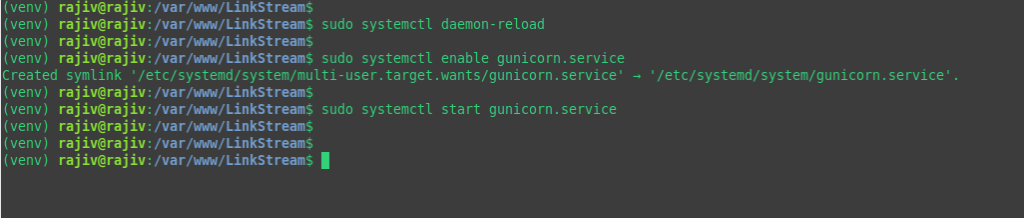
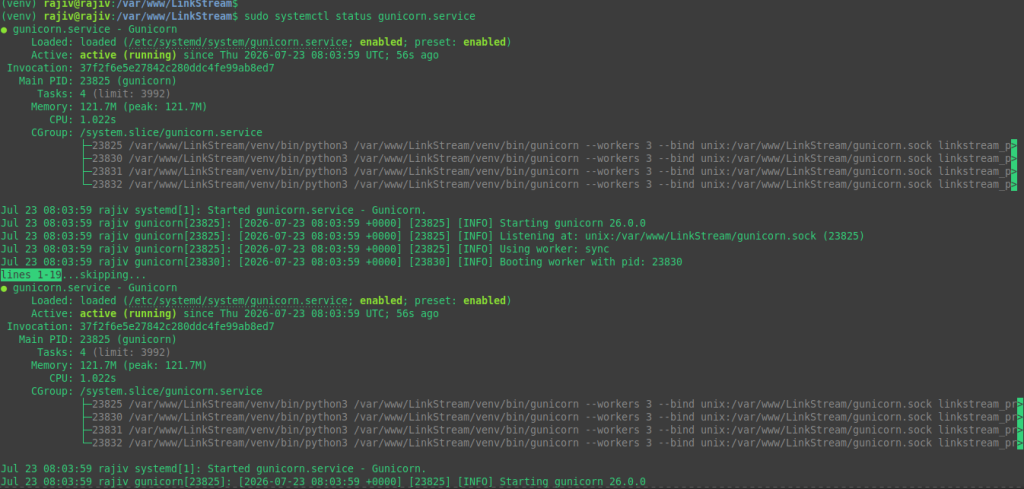
bash command
sudo systemctl status gunicorn.servicestatus should show active (running). If it doesn’t, see Troubleshooting below.
Step 15: Configure Nginx as a Reverse Proxy
bash command
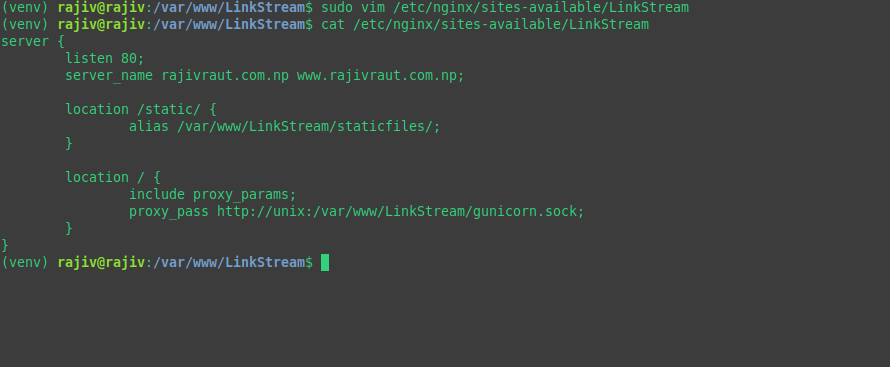
sudo vim /etc/nginx/sites-available/projectnginx config
server {
    listen 80;
    server_name example.com www.example.com;

    location /static/ {
        alias /var/www/project/staticfiles/;
    }

    location / {
        include proxy_params;
        proxy_pass http://unix:/var/www/project/gunicorn.sock;
    }
}
Enable the site and disable the default one:
bash command
sudo ln -s /etc/nginx/sites-available/project /etc/nginx/sites-enabled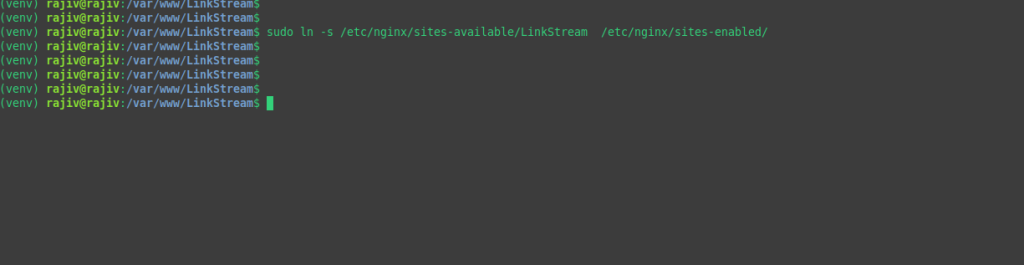
bash command
sudo rm /etc/nginx/sites-enabled/default
bash command
sudo nginx -tnginx -t tests the configuration for syntax errors before you reload — always run it before restarting Nginx.

bash command
sudo systemctl restart nginx
Step 16: Configure the Firewall (UFW)
bash command
sudo ufw app list
sudo ufw allow OpenSSH
sudo ufw allow 'Nginx Full'
sudo ufw enable
sudo ufw status
Note: Use straight quotes around
'Nginx Full', not smart quotes ("Nginx Full"). Smart/curly quotes will causeufwto fail to parse the app profile name. Also, always allow SSH before enabling UFW — enabling the firewall first without an SSH rule can lock you out of the server.
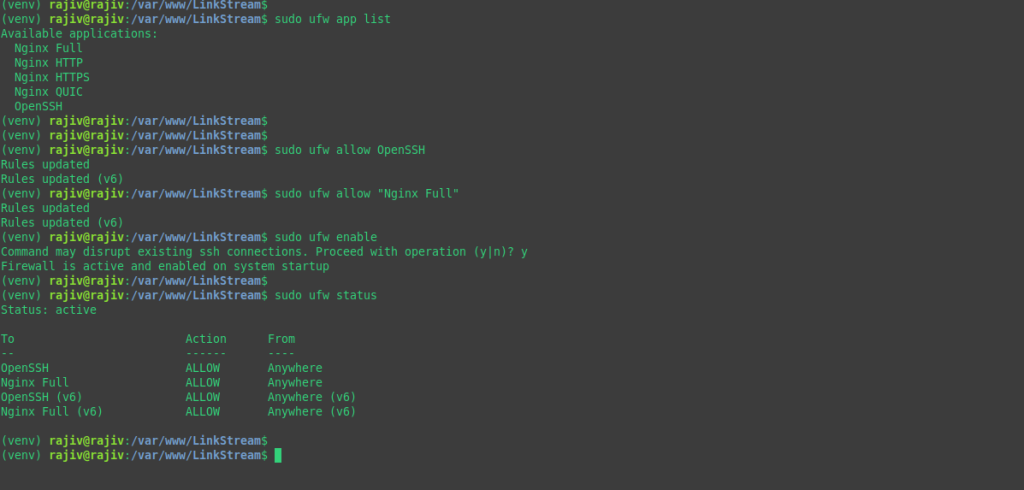
Step 17: Enable HTTPS with Let’s Encrypt (Certbot)
bash command
sudo apt install certbot python3-certbot-nginx -y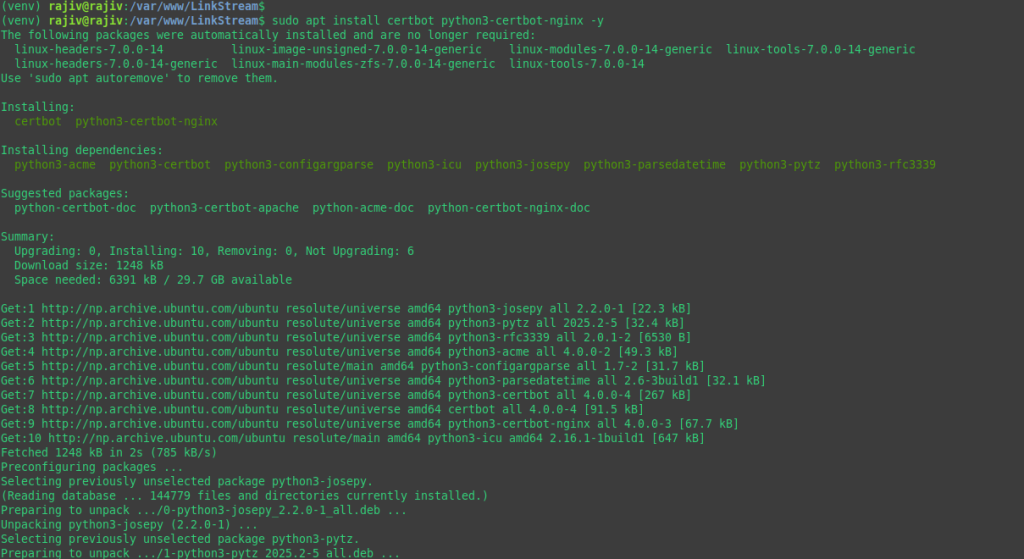
bash command
sudo certbot --nginx -d example.com -d www.example.com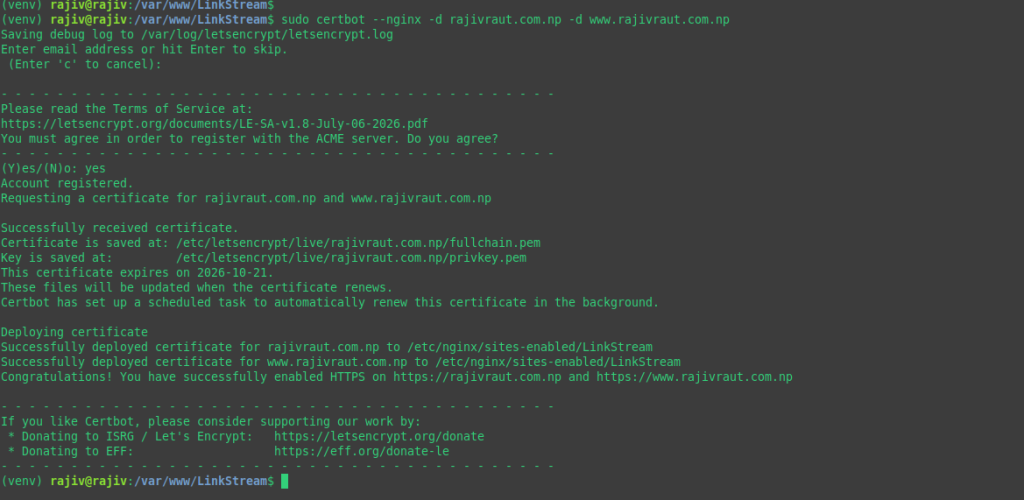
bash command
sudo certbot renew --dry-runCertbot automatically edits the Nginx config to redirect HTTP to HTTPS and sets up a renewal cron job/systemd timer. The --dry-run confirms auto-renewal will work without actually issuing a new certificate.
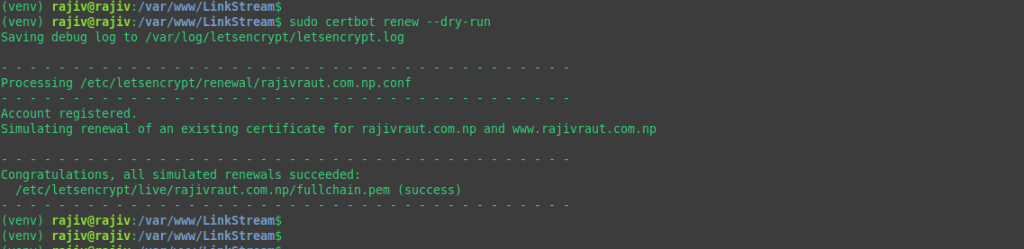
Visit https://example.com to confirm the deployment is live and secured.
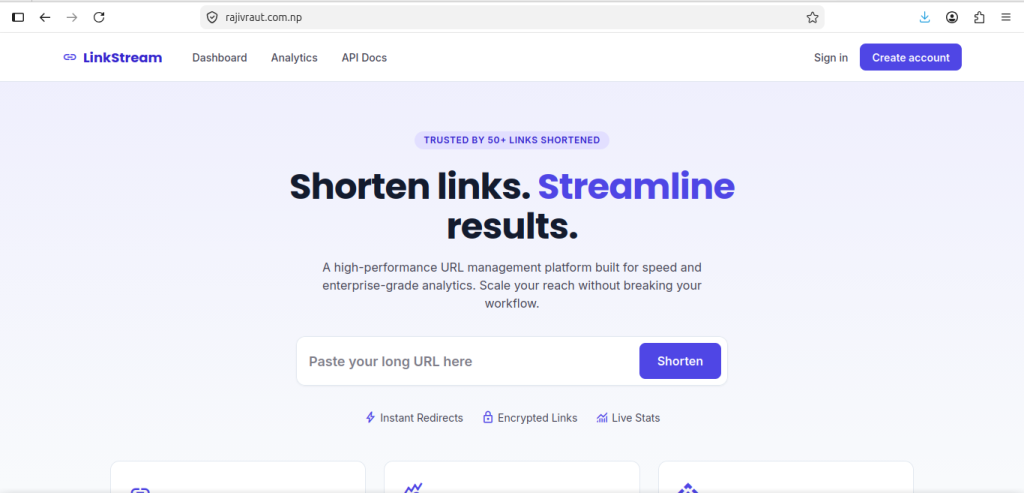
Verification Checklist
sudo systemctl status gunicornshowsactive (running)sudo systemctl status nginxshowsactive (running)sudo nginx -tpasses with no errors- The site loads over
https://with a valid certificate (padlock icon, no browser warnings) - Static files (CSS/JS/images) load correctly
/adminlogin works with the superuser created in Step 10DJANGO_DEBUG=Falseand a unique, non-defaultDJANGO_SECRET_KEYare set
Troubleshooting
pip install psycopg2-binaryfails to build
Cause: Missing PostgreSQL development headers.
Fix:
bash command
sudo apt install libpq-dev python3-dev build-essential -y
pip install psycopg2-binary- 502 Bad Gateway from Nginx
Cause: Gunicorn isn’t running, or Nginx can’t reach the socket.
Fix:
- Check Gunicorn is active:
sudo systemctl status gunicorn - Check the socket file exists:
ls -l /var/www/project/gunicorn.sock - Check the Nginx error log for the exact reason:
sudo tail -n 50 /var/log/nginx/error.log - Confirm the
proxy_passpath in the Nginx config exactly matches the--bindpath in the systemd service file.
Permission deniedconnecting to the Gunicorn socket
Cause: Nginx (running as www-data) can’t read/write the socket, usually due to ownership or directory permissions.
Fix:
bash command
sudo chown -R www-data:www-data /var/www/project
sudo chmod 750 /var/www/project
sudo systemctl restart gunicorn nginx
Also confirm User=www-data and Group=www-data are set in gunicorn.service.
django.db.utils.OperationalError: could not connect to server/ connection refused
Cause: PostgreSQL isn’t running, or the host/port in .env is wrong.
Fix:
bash command
sudo systemctl status postgresql
sudo systemctl start postgresql
Confirm POSTGRES_HOST=localhost and POSTGRES_PORT=5432 match your PostgreSQL setup, and that settings.py is actually reading these values.
django.db.utils.OperationalError: FATAL: password authentication failed
Cause: Wrong password, wrong username, or PostgreSQL’s pg_hba.conf authentication method doesn’t allow password auth for local connections.
Fix: Re-check the .env credentials against what you set in Step 3. If they’re correct, check /etc/postgresql/<version>/main/pg_hba.conf — the line for local/127.0.0.1 connections should use md5 or scram-sha-256, not peer. Restart PostgreSQL after any change: sudo systemctl restart postgresql.
permission denied for schema publicduringmigrate
Cause: On PostgreSQL 15+, the public schema is no longer writable by all users by default.
Fix: Re-run Step 9’s grant/ownership commands:
bash command
sudo -u postgres psql -d myprojectdb -c "GRANT ALL ON SCHEMA public TO myprojectuser;"
sudo -u postgres psql -d myprojectdb -c "ALTER SCHEMA public OWNER TO myprojectuser;"- Static files return 404 or don’t load
Cause: collectstatic wasn’t run, STATIC_ROOT doesn’t match the Nginx alias path, or file permissions block Nginx from reading them.
Fix:
- Confirm
STATIC_ROOTinsettings.pymatches/var/www/project/staticfiles/(or update the Nginx config to match). - Re-run
python manage.py collectstatic. - Ensure the directory is readable by
www-data:sudo chown -R www-data:www-data /var/www/project/staticfiles.
DisallowedHosterror (“Invalid HTTP_HOST header”)
Cause: The domain/IP being used to access the site isn’t listed in DJANGO_ALLOWED_HOSTS.
Fix: Add the exact domain(s) and/or IP to DJANGO_ALLOWED_HOSTS in .env, then restart Gunicorn: sudo systemctl restart gunicorn.
ufwblocks the site or locks you out of SSH
Cause: Rules were added in the wrong order, or a curly-quoted app name ("Nginx Full" instead of 'Nginx Full') failed to register.
Fix: If you still have console/VNC access:
bash command
sudo ufw allow OpenSSH
sudo ufw allow 'Nginx Full'
sudo ufw reload
sudo ufw status verbose
If you’re fully locked out, use your hosting provider’s out-of-band console access to fix the rules.
certbot --nginxfails with “Could not automatically find a matching server block”
Cause: The server_name in the Nginx config doesn’t match the domain passed to Certbot, or the site isn’t enabled/reloaded yet.
Fix: Confirm the domain in server_name matches exactly, that the site is symlinked into sites-enabled, and that sudo nginx -t && sudo systemctl reload nginx completes cleanly before retrying Certbot.
nginx: [emerg] ... duplicate default server
Cause: The default Nginx site (/etc/nginx/sites-enabled/default) wasn’t removed and conflicts with the new site.
Fix:
bash command
sudo rm /etc/nginx/sites-enabled/default
sudo nginx -t
sudo systemctl restart nginx
Notes and Best Practices
- Never run
manage.py runserverin production. It’s single-threaded, unoptimized, and not designed to handle real traffic or serve static files securely — Gunicorn + Nginx exists specifically to replace it. - Rotate the Django secret key if it was ever committed to version control or shared insecurely, and keep it out of
.envfiles that get backed up to unencrypted locations. - Keep
.envout of Git. Add it to.gitignorebefore your first commit, and consider using a secrets manager for larger deployments. - Use
--workerssized to your CPU, not an arbitrary number — over-provisioning workers on a small VPS can exhaust memory. - Automate certificate renewal verification periodically (
sudo certbot renew --dry-run) even though Certbot sets up automatic renewal, since DNS or config changes can silently break it. - Back up your PostgreSQL database regularly (e.g.,
pg_dump) independent of this deployment process — this guide covers deployment, not disaster recovery. - Watch logs during first deployment:
sudo journalctl -u gunicorn -fandsudo tail -f /var/log/nginx/error.logare the fastest way to catch issues live as you test. - Prefer scoped database privileges over
GRANT ALL PRIVILEGESin real production environments — the broad grant in Step 3 is convenient for getting started but grants more than most applications need; consider tightening it once the deployment is stable.
Conclusion
By following the steps outlined above, you can deploy a Django application using a proven production stack consisting of Gunicorn, Nginx, PostgreSQL, and HTTPS. This architecture is well suited for small to medium-sized deployments, providing a reliable, secure, and maintainable foundation.
The key request flow is straightforward: Nginx terminates TLS, serves static assets directly, and proxies dynamic requests through a Unix socket to Gunicorn. Gunicorn runs the Django application, which interacts with PostgreSQL to store and retrieve data. Understanding this request path makes it easier to configure, troubleshoot, and scale your deployment as your application grows.